परिचय
A clean and functional shower head is essential for an enjoyable and refreshing shower experience. Over time, mineral deposits, limescale, and other residues can accumulate, leading to reduced water flow and even unpleasant odors. Additionally, there comes a point where replacing your shower head becomes necessary, whether due to wear and tear or simply to upgrade to a more efficient model. In this comprehensive guide, we’ll delve into the step-by-step processes of both cleaning and changing your shower head, ensuring your bathroom remains a haven of relaxation and cleanliness.

How to Clean a Shower Head
- Assessing the Need for Cleaning
Before diving into the cleaning process, it’s essential to determine whether your shower head actually requires cleaning. Look out for signs of buildup, such as reduced water flow or uneven spray patterns. These indicators suggest that mineral deposits or other residues may be obstructing the shower head’s nozzles, hindering its performance.
- Gathering Necessary Materials
To effectively clean your shower head, you’ll need a few basic materials that are likely already available in your household. These include vinegar, baking soda, a soft-bristled brush or toothbrush, and a plastic bag or container large enough to submerge the shower head.
- Removing the Shower Head
Start by disconnecting the shower head from the water supply. Depending on the type of attachment, this may involve unscrewing it manually or using a wrench or pliers for a tighter connection. Take care not to damage any surrounding fixtures or tiles during this process.
- Cleaning the Shower Head
Once removed, the shower head can be thoroughly cleaned to remove any buildup. One effective method is to soak the shower head in a solution of equal parts white vinegar and water for several hours or overnight. Vinegar’s acidic properties help dissolve mineral deposits, restoring the shower head’s functionality.
For stubborn buildup, a paste made from baking soda and water can be applied to the shower head’s surface and gently scrubbed with a soft-bristled brush or toothbrush. This abrasive action helps dislodge deposits without causing damage to the shower head’s finish.
- Reattaching the Shower Head
After cleaning, rinse the shower head thoroughly with water to remove any remaining vinegar or baking soda residue. Then, reattach the shower head to the water supply, ensuring a secure connection. Test the water flow to confirm that the cleaning process has been successful, and make any necessary adjustments.
How to Change a Shower Head
- Determining the Need for Replacement
While regular cleaning can prolong the lifespan of your shower head, there comes a point where replacement is inevitable. Signs such as corrosion, leaks, or irreparable damage indicate that it’s time to invest in a new shower head. Additionally, if you’re looking to upgrade to a more efficient or aesthetically pleasing model, changing your shower head presents an opportunity for improvement.
- Selecting a New Shower Head
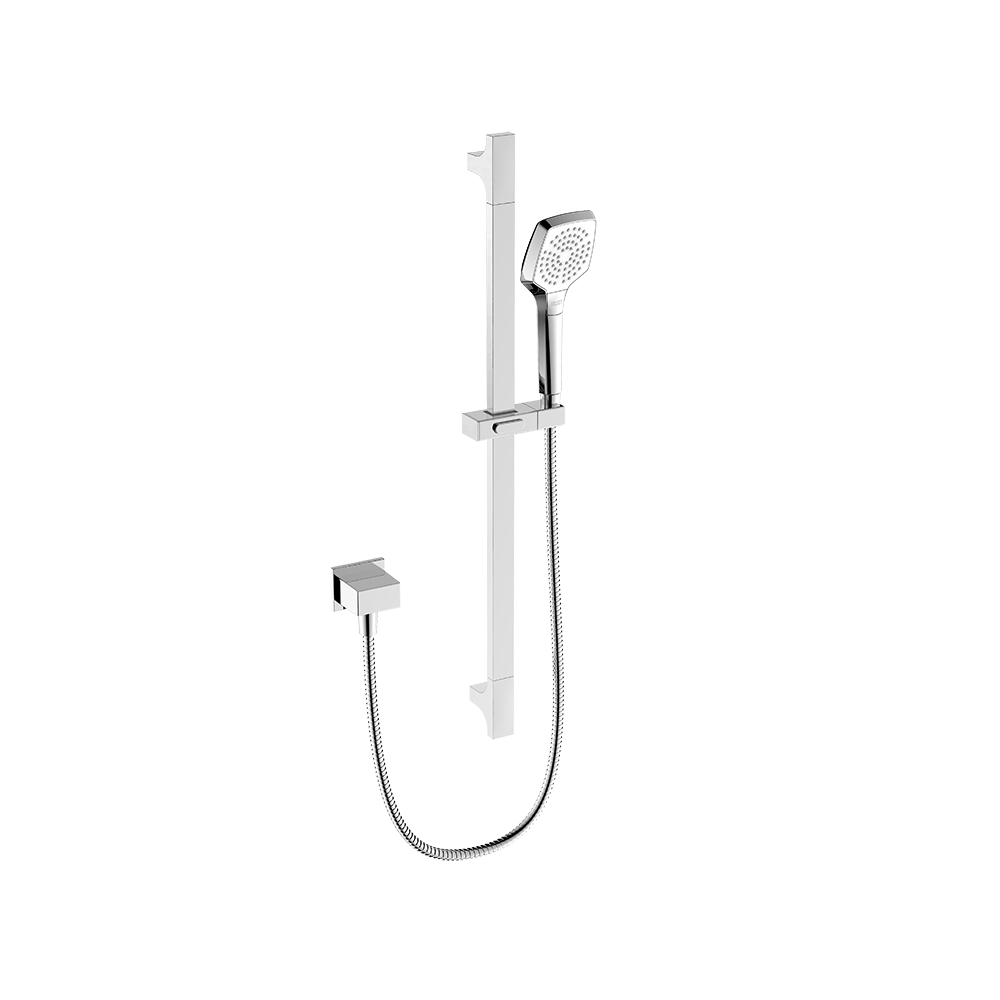
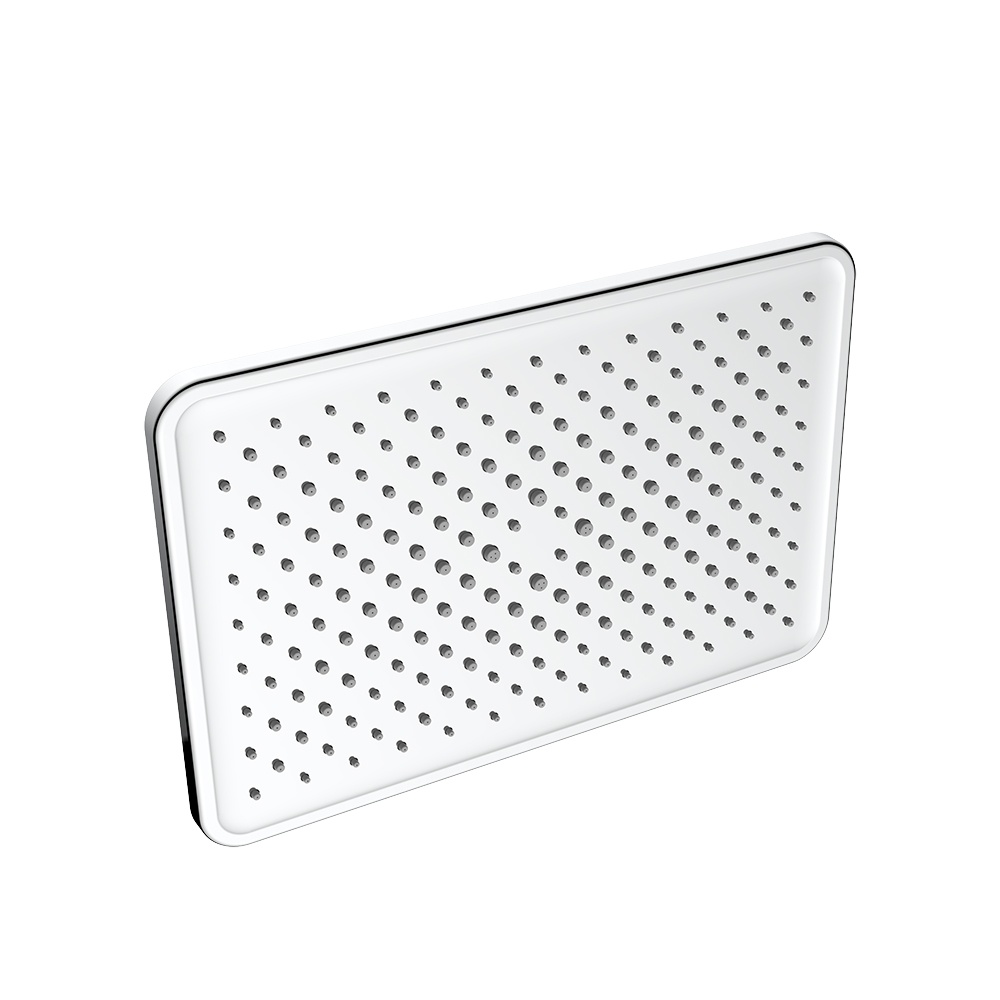
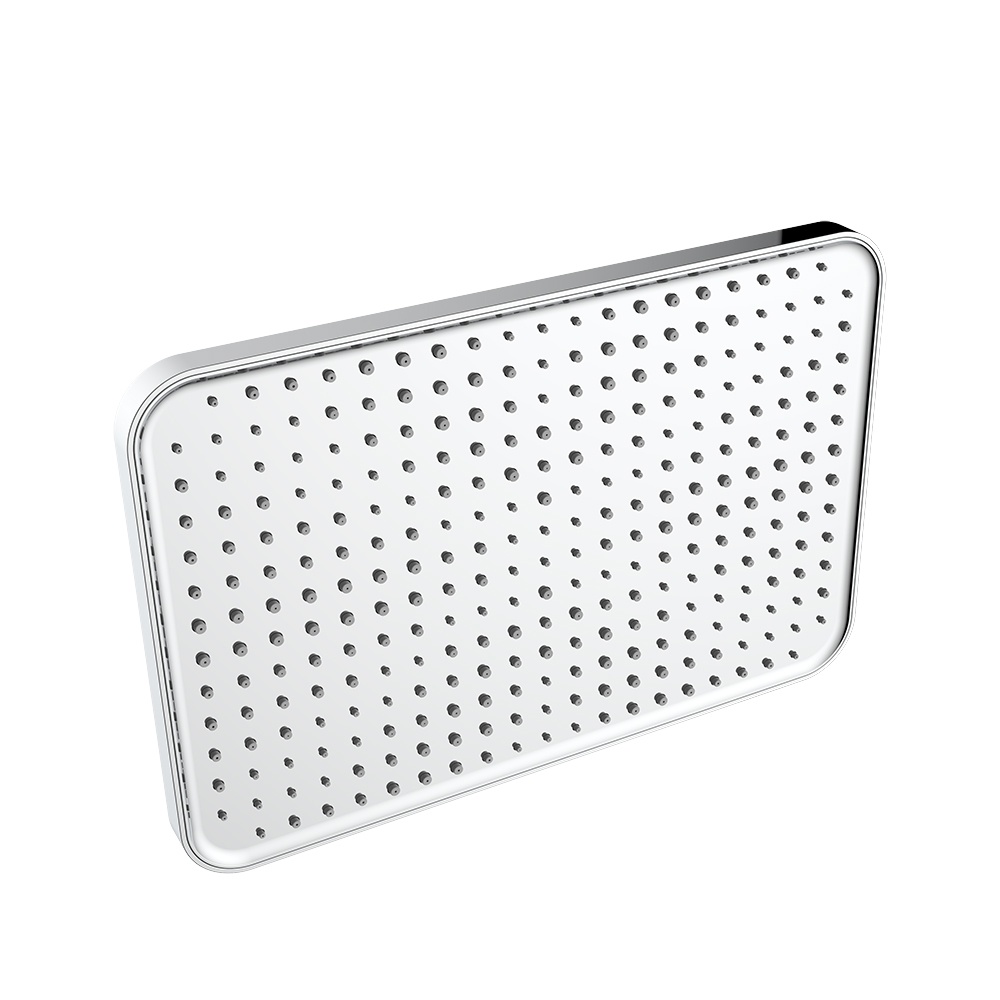
Before purchasing a new shower head, consider factors such as spray pattern, water pressure, and aesthetic preferences. There are various types of shower heads available, including fixed, handheld, rain shower, and massage jets. Choose one that aligns with your desired shower experience and budget.
Once you’ve selected a suitable replacement, gather the necessary materials for the installation process. These typically include the new shower head, plumber’s tape, and a wrench or pliers for tightening connections.
- Removing the Old Shower Head
To remove the existing shower head, start by disconnecting it from the water supply. This may require using a wrench or pliers to loosen the connection, especially if it’s been in place for an extended period. Take care not to damage any surrounding fixtures or tiles during this process.
- Installing the New Shower Head
Before installing the new shower head, apply plumber’s tape to the threads of the water supply pipe. This helps create a watertight seal and prevents leaks. Then, securely attach the new shower head to the water supply, using a wrench or pliers to tighten the connection as needed.
- Testing the New Installation
Once the new shower head is in place, turn on the water supply and test the installation for leaks or irregularities. Adjust the position and angle of the shower head to ensure optimal water flow and coverage. Take note of any adjustments needed to achieve your desired shower experience.