How to Install a 3-Setting Spray and Handheld Shower in Your Bathroom
परिचय
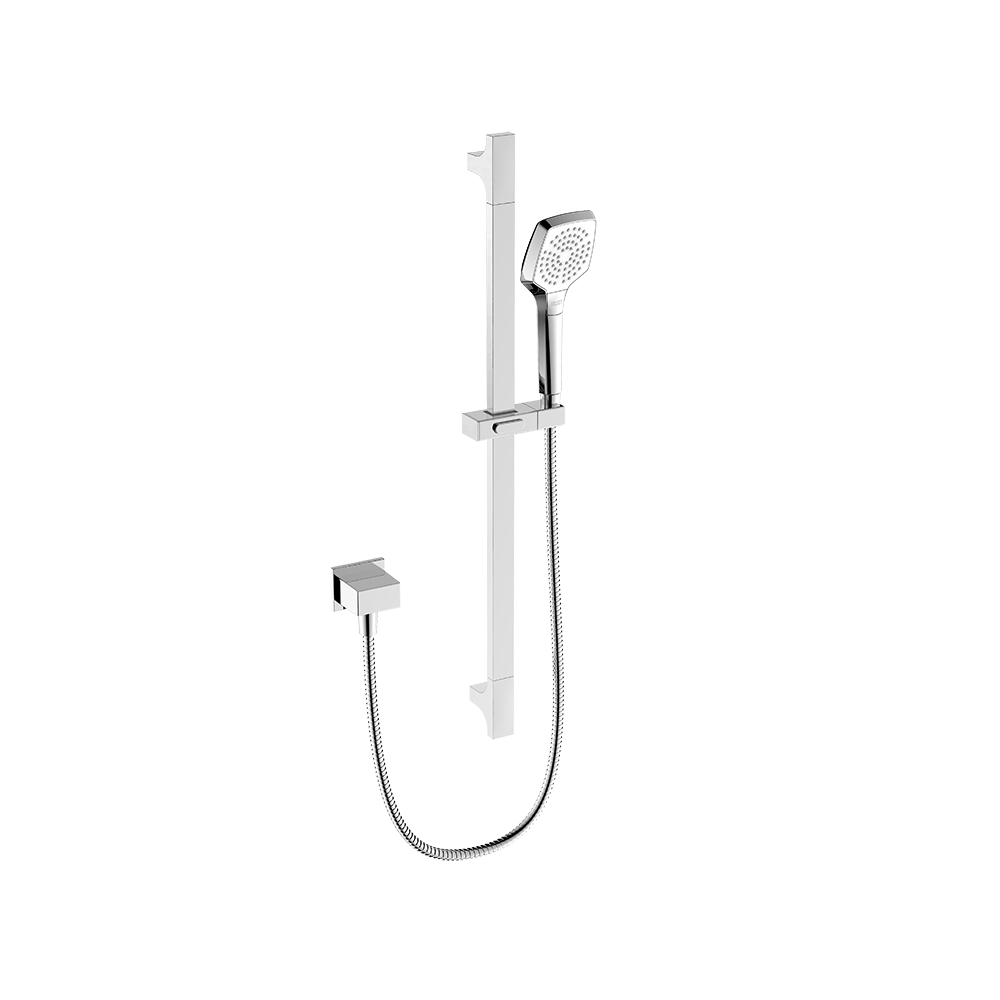
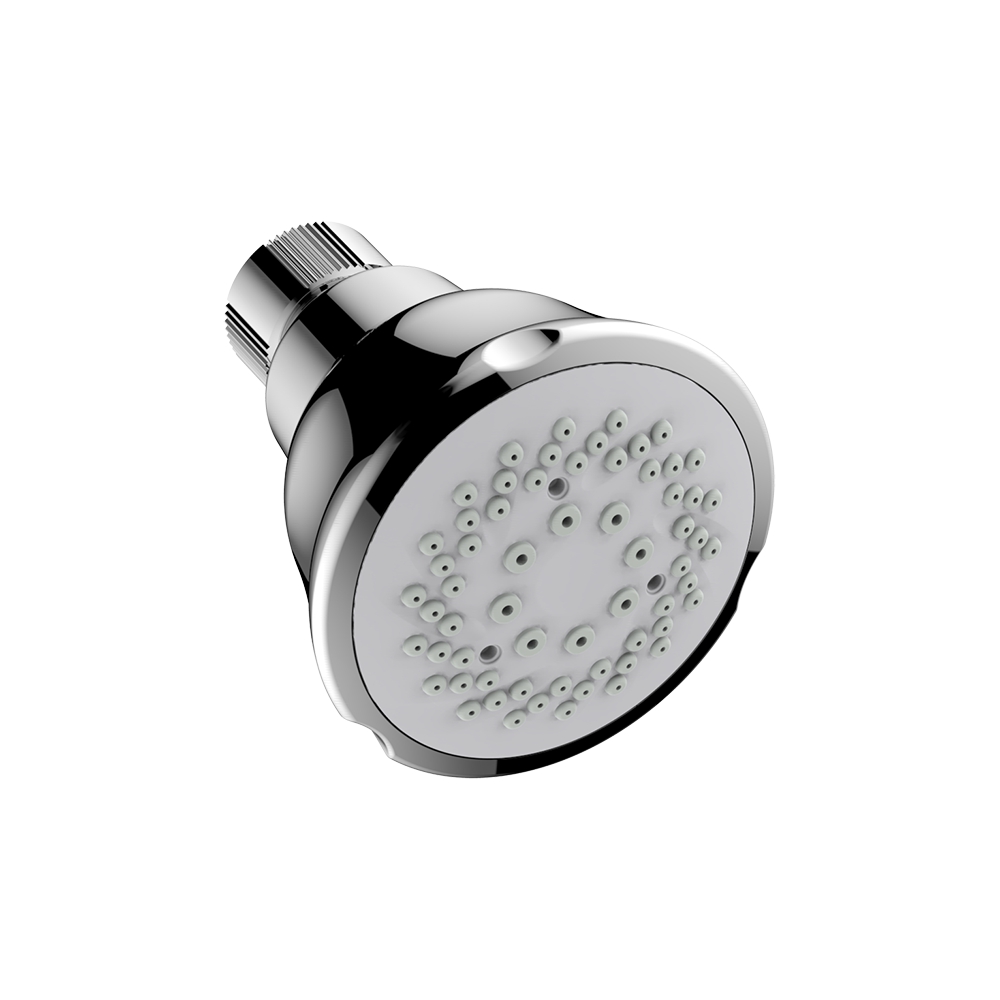
Proper installation of a 3-setting spray and handheld shower is essential to enhance your shower experience and enjoy the convenience of different spray options. In this guide, we will walk you through the step-by-step process of installing a 3-setting spray and handheld shower in your bathroom.
Preparing for Installation
Before you begin the installation process, it’s important to gather the necessary tools and materials. You will need an adjustable wrench, plumber’s tape, a drill, wall anchors (if required), and the new 3-setting spray and handheld shower kit.
Next, check the existing shower setup for compatibility. Ensure that the shower arm is securely attached to the wall and that there is enough clearance to accommodate the handheld shower bracket. Additionally, it’s crucial to turn off the water supply to the shower before starting the installation.
Removing the Existing Showerhead
To begin the installation, you’ll need to remove the existing showerhead. Start by using an adjustable wrench to unscrew the old showerhead from the shower arm. Take care not to damage the shower arm threads during this process.
Once the old showerhead is removed, it’s a good idea to clean the shower arm threads. This will help ensure a proper seal when installing the new handheld shower. Use a cloth or brush to remove any debris or leftover plumber’s tape from the threads.
After cleaning the shower arm, apply a few layers of plumber’s tape to the threads. This tape acts as a sealant and helps prevent leaks when you install the new handheld shower.
Installing the Handheld Shower Bracket
Now it’s time to install the handheld shower bracket. Select the desired location for the bracket on the wall, keeping in mind factors such as height and accessibility. Use a pencil to mark the position of the bracket.
Next, drill holes into the marked spots on the wall. If you’re drilling into tile, use a tile drill bit to prevent cracking. Once the holes are drilled, insert wall anchors if necessary to provide additional support for the bracket.
Securely attach the handheld shower bracket to the wall using screws or bolts provided with the kit. Ensure that the bracket is level and tightly fastened to the wall for stability.
Attaching the Hose and Handheld Shower
With the bracket in place, it’s time to attach the hose and handheld shower. Start by connecting one end of the hose to the handheld shower unit. Ensure that the connection is tight to prevent leaks.
Next, attach the other end of the hose to the shower bracket. Most handheld shower kits come with a bracket that has a holder for the hose. Insert the hose into the holder and tighten any securing mechanisms to keep it in place.
Double-check all connections to ensure they are secure and leak-free. Hand-tighten the connections first and then use an adjustable wrench to give them a final snug turn, being careful not to overtighten and risk damaging the connections.
Testing and Adjusting
Before completing the installation, it’s important to test the functionality of your new 3-setting spray and handheld shower. Turn on the water supply and test each of the spray settings to ensure they are working correctly.
If you find that the water pressure is too low or too high, you may be able to adjust it using the flow restrictor or water pressure regulator provided with the kit. Follow the manufacturer’s instructions to make any necessary adjustments to achieve your desired water pressure.
Finishing Touches
Once you have tested and adjusted the shower, check for any leaks around the connections. If you notice any leaks, try tightening the connections slightly or applying more plumber’s tape to the threads. It’s important to address any leaks promptly to avoid water damage.
Clean up any debris or excess plumber’s tape that may have accumulated during the installation process. Use a damp cloth to wipe down the shower area and ensure it is clean and presentable.
Additional Considerations and Troubleshooting
To maintain the performance and longevity of your 3-setting spray and handheld shower, it’s important to follow proper maintenance and cleaning practices. Refer to the manufacturer’s instructions for specific guidelines on cleaning and care.
If you encounter any difficulties during the installation or experience ongoing issues, consult the troubleshooting section of the manufacturer’s manual. They may provide additional guidance and solutions to common problems.
In some cases, you may find it beneficial to seek professional assistance for the installation. A licensed plumber or experienced handyman can ensure a proper and efficient installation, especially if you are unfamiliar with plumbing or DIY projects.
निष्कर्ष
Installing a 3-setting spray and handheld shower can significantly enhance your shower experience, providing you with the versatility of different spray options. By following the step-by-step instructions outlined in this guide, you can successfully install a 3-setting spray and handheld shower in your bathroom.
Remember to gather the necessary tools and materials, prepare the existing shower setup, remove the old showerhead, install the handheld shower bracket, attach the hose and handheld shower, test and adjust the settings, and address any leaks or issues. With proper installation, you’ll be able to enjoy the benefits of a 3-setting spray and handheld shower for years to come.
संबंधित उत्पाद