परिचय
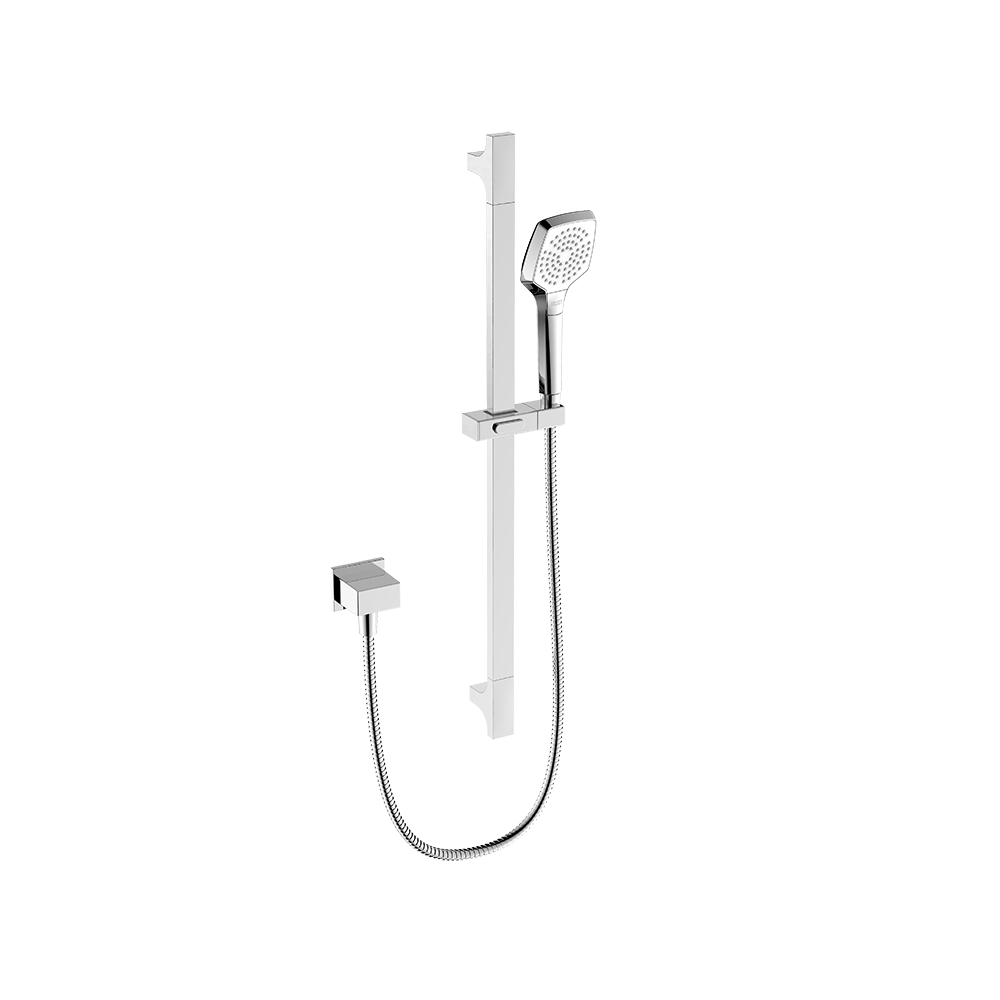
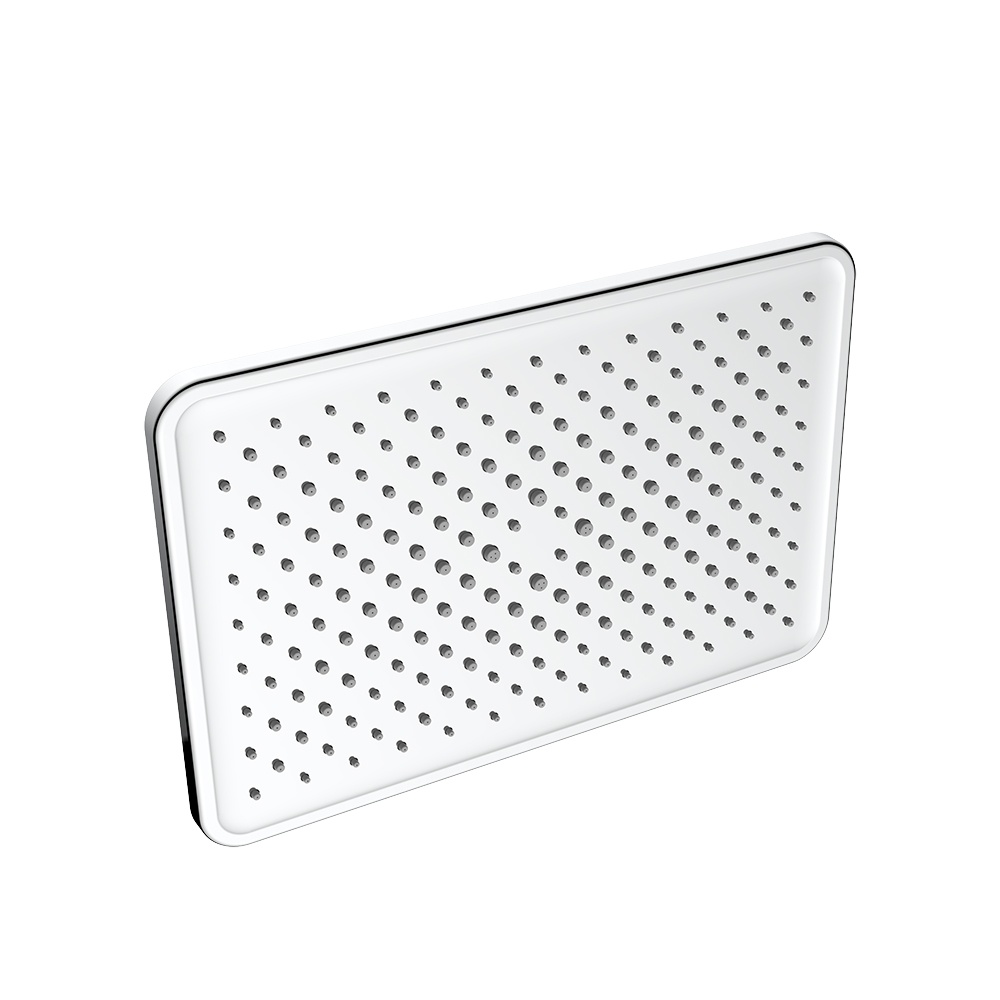
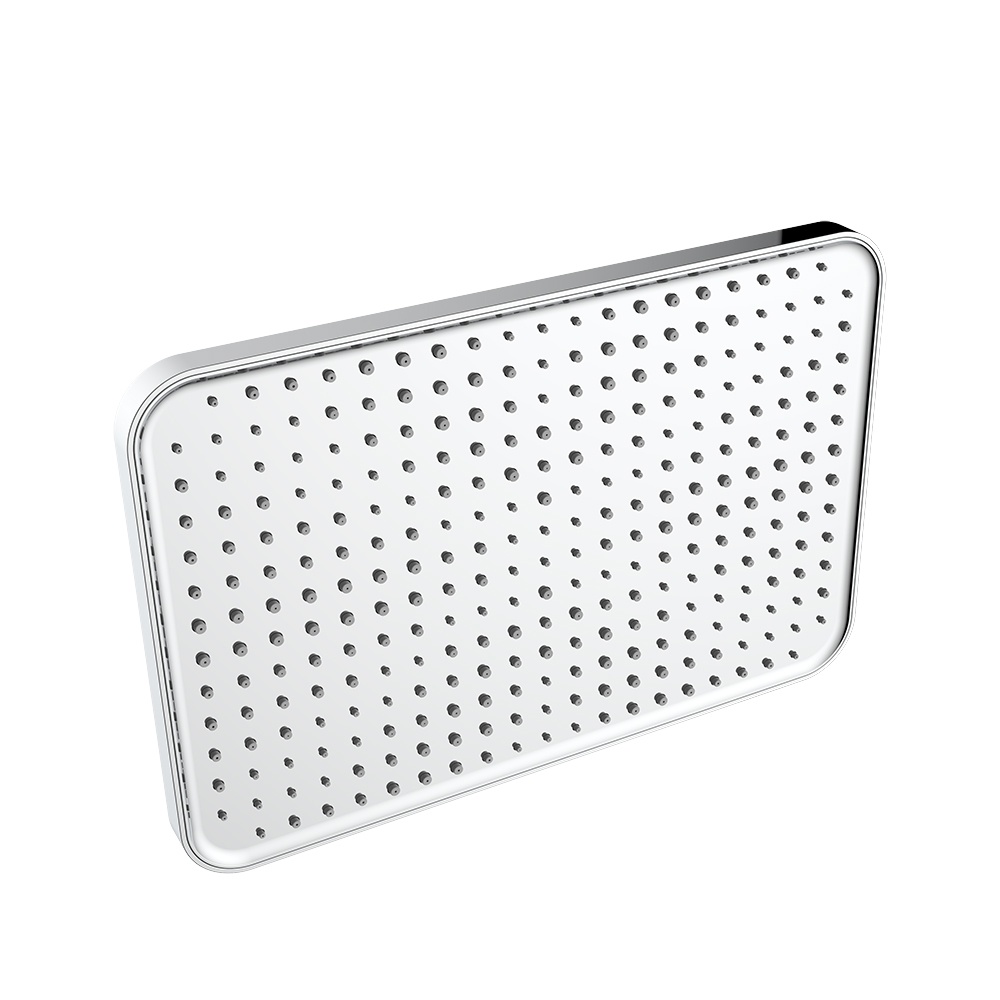
The high pressure rain shower head has become a staple in modern bathrooms, offering a luxurious shower experience by mimicking the feel of natural rainfall. Installing one not only enhances your daily shower routine but also can add a touch of sophistication to your bathroom decor. However, to fully benefit from an 8 fixed high pressure rain

, proper installation is crucial. This comprehensive guide will walk you through each step, ensuring you achieve optimal performance and longevity from your new shower head.
Gather Necessary Tools and Materials
Before you begin the installation process, it’s important to gather all the necessary tools and materials. Having everything on hand will streamline the installation and prevent any mid-task interruptions.
- Required Tools
Adjustable wrench
Plumber’s tape (Teflon tape)
Soft cloth or rag
Ladder or step stool (if your shower head is high)
- Included Components
The 8 fixed high pressure rain shower head
Rubber washer or gasket (if included)
Instruction manual
- Safety Precautions
Ensure the water supply is turned off before starting.
Use tools carefully to avoid damaging fixtures.
If using a ladder, ensure it is stable and placed on a non-slippery surface.
Preparation
Proper preparation is key to a smooth installation process. Begin by turning off the water supply to the shower. This can usually be done by turning off the main water valve in your home or the shut-off valve for the bathroom.
- Remove the Existing Shower Head
If there’s an old shower head in place, you’ll need to remove it. Start by turning it counterclockwise. If it’s too tight, use an adjustable wrench, wrapping the shower arm with a soft cloth to prevent scratches.
In cases of rust or corrosion, apply a penetrating oil to loosen the shower head. Allow it to sit for a few minutes before attempting removal again.
Cleaning the Shower Arm
With the old shower head removed, it’s essential to prepare the shower arm for the new installation.
- Inspecting and Cleaning
Check the shower arm for any signs of damage or corrosion. If the arm is damaged, consider replacing it.
Clean the threads on the shower arm to remove any debris or old plumber’s tape. Use a cloth to wipe it down thoroughly.
- Applying Plumber’s Tape
Wrap plumber’s tape around the threads of the shower arm. This tape helps create a watertight seal and prevents leaks.
Wrap the tape in a clockwise direction, overlapping each layer slightly. Typically, 2-3 wraps are sufficient.
Installing the New Shower Head
Now that the shower arm is prepared, you can proceed with installing the new shower head.
- Attaching the Shower Head
If your shower head comes with a rubber washer or gasket, insert it into the threaded connection of the shower head.
Hand-tighten the shower head onto the shower arm by turning it clockwise. Ensure it is aligned correctly to prevent cross-threading.
- Securing with a Wrench
Once hand-tightened, use an adjustable wrench to secure the shower head further if necessary. Wrap a cloth around the shower arm to avoid scratches, and turn the wrench carefully.
Avoid over-tightening, as this can damage the threads and cause leaks.
- Checking the Angle and Positioning
Adjust the angle and positioning of the shower head to your preference. Make sure it’s oriented correctly to cover the showering area adequately.
Testing the Installation
With the shower head installed, it’s time to test the installation to ensure everything is functioning correctly.
- Turning the Water Supply Back On
Turn the water supply back on by opening the main valve or the bathroom shut-off valve.
Slowly turn on the shower to allow the water to fill the pipes and the shower head.
- Checking for Leaks
Inspect the connection between the shower arm and the shower head for any signs of leaks.
If you notice any leaks, turn off the water supply and tighten the connection slightly. Reapply plumber’s tape if necessary.
- Adjusting Water Pressure Settings
Test the water pressure by turning the shower on fully. The high pressure rain shower head should provide a consistent and powerful flow.
If the pressure is too high or too low, adjust your home’s water pressure regulator or check if the shower head has an adjustable setting.
Final Adjustments and Maintenance Tips
To ensure your new shower head remains in good condition and performs well over time, follow these final adjustments and maintenance tips.
- Ensuring the Shower Head is Firmly in Place
Double-check the tightness of the connection. The shower head should be secure but not overly tight.
Confirm that the angle and position are to your liking and make any final adjustments.
- Tips for Maintaining Water Pressure and Cleanliness
Periodically remove and clean the shower head to prevent mineral buildup, especially if you have hard water. Soak it in a vinegar solution to dissolve any deposits.
Use a soft brush to clean the nozzles on the shower head to maintain a clear and consistent water flow.
- Periodic Checks and Cleaning
Every few months, inspect the shower head and the connection for any signs of wear or leaks.
Reapply plumber’s tape and tighten connections as needed to maintain a watertight seal.
Troubleshooting Common Issues
Despite careful installation, you may encounter some common issues with your shower head. Here’s how to troubleshoot them:
- Low Water Pressure
Check if the water pressure in your home is generally low. If so, you may need to adjust the pressure regulator or contact a plumber.
Clean the shower head to remove any blockages that might be restricting water flow.
- Leaks at the Connection Point
Ensure the plumber’s tape is applied correctly and that there are no gaps.
Tighten the connection gently, ensuring not to over-tighten and damage the threads.
- Uneven Water Flow
Clean the nozzles on the shower head to ensure there are no blockages causing uneven flow.
Inspect the shower arm for any damage that might be affecting the water distribution.
निष्कर्ष
Installing an 8 fixed high pressure rain shower head can significantly enhance your showering experience, providing a luxurious and invigorating water flow. By following the detailed steps outlined in this guide, you can ensure a successful installation and long-lasting performance. Remember, proper maintenance and periodic checks will help keep your shower head in optimal condition. Enjoy your new shower experience and the refreshing sensation it brings to your daily routine.