Introduction
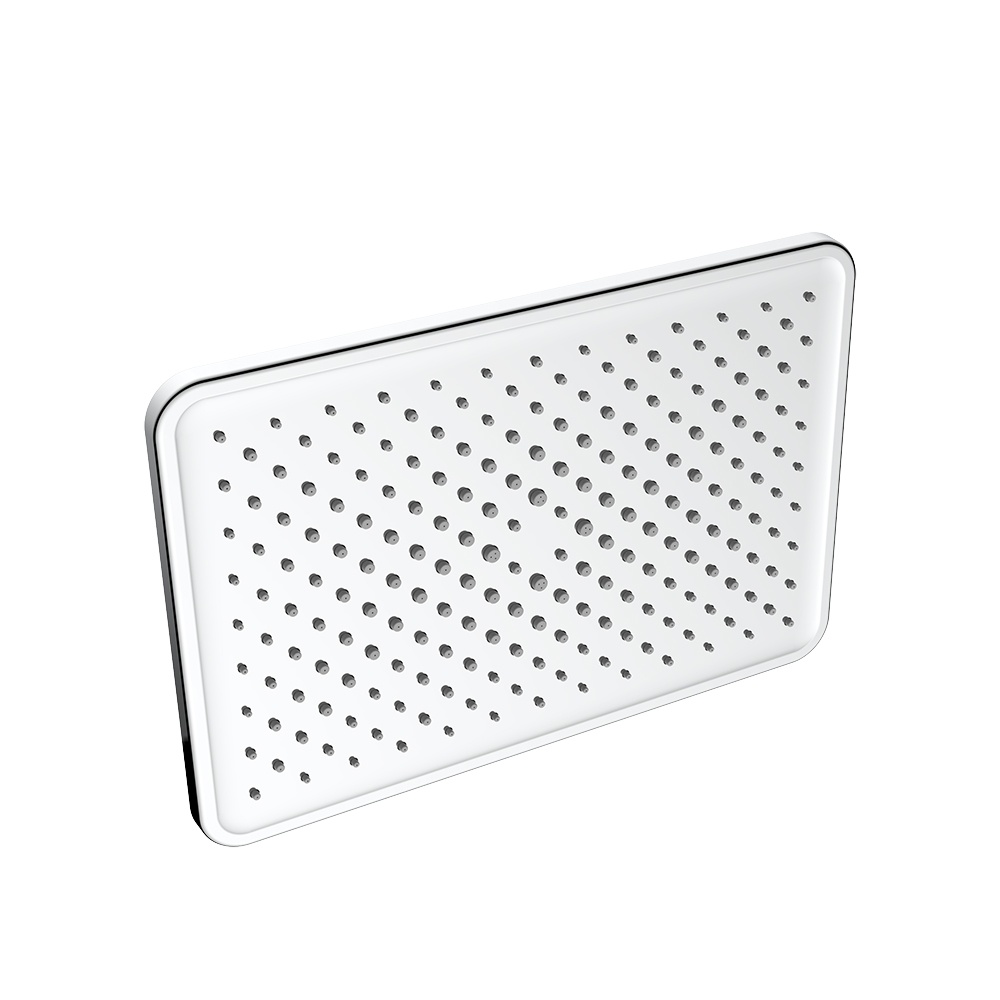
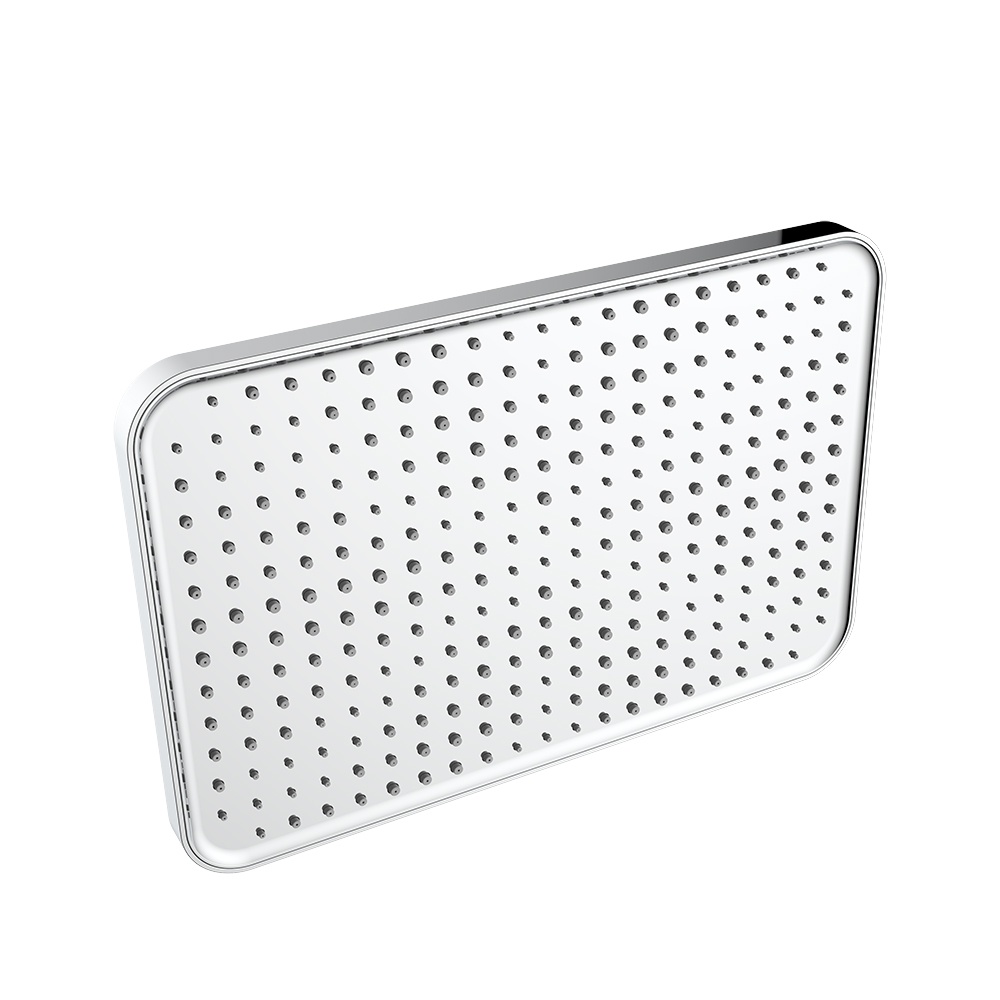
When it comes to upgrading your bathroom, few things can compare to the luxury and comfort of a rainfall shower head. A 10-inch square rainfall shower head with two modes not only enhances your shower experience but also adds a touch of elegance to your bathroom decor. However, before you can enjoy the soothing rain-like flow, you’ll need to install it correctly. In this comprehensive guide, we will take you through the step-by-step process of installing a 10-inch square rainfall shower head with two modes in your bathroom.

Tools and Materials
Before we dive into the installation process, it’s essential to gather all the necessary tools and materials. Here’s what you’ll need:
- Tools:
Adjustable wrench or pliers
Teflon tape (thread seal tape)
Pipe thread sealant (optional)
Screwdriver (if required)
- Materials:
10-inch square rainfall shower head with two modes
Shower arm
Washers or gaskets (typically included with the shower head)
Pre-Installation Preparations
- Turn off the water supply:
The first step in any plumbing project is to turn off the water supply to your bathroom. Locate the shut-off valve for your shower and ensure it’s fully closed to prevent any water flow.
- Remove the existing showerhead (if applicable):
If you have an existing showerhead, you’ll need to remove it. Use an adjustable wrench or pliers to unscrew the old showerhead from the shower arm. Ensure the shower arm is clean and free from any old tape or debris.
- Clean the shower arm:
Before attaching your new shower head, take a moment to clean the shower arm thoroughly. Use a cloth to wipe away any dirt, residue, or mineral deposits that may have accumulated over time.
Assembly of the Shower Head
With the pre-installation preparations complete, it’s time to assemble and attach your 10-inch square rainfall shower head.
- Examine the shower head components:
Take a close look at the components of your new shower head. Typically, it will consist of the shower head itself and a connecting nut. Some models may also include washers or gaskets.
- Attach any included washers or gaskets:
If your shower head comes with washers or gaskets, place them inside the connecting nut. This will help create a watertight seal and prevent leaks.
- Screw the shower head onto the shower arm:
With the washers or gaskets in place, carefully screw the connecting nut onto the shower arm. Hand-tighten it initially, and then use an adjustable wrench to ensure it’s snug, being careful not to overtighten to avoid damaging the shower arm or head.
Adjustment of Modes
A key feature of a 10-inch square rainfall shower head with two modes is its ability to switch between different spray patterns. Let’s go over how to adjust and test these modes.
- Explain how to switch between the two modes:
Most square rainfall shower heads with two modes have a simple switch or lever to change between modes. This switch is typically located on the shower head itself or the handle. Consult your shower head’s user manual for specific instructions.
- Test the modes to ensure they are functioning correctly:
Before you complete the installation, test both modes to ensure they are working as expected. This allows you to confirm that the shower head is correctly installed and that water flows smoothly in both modes.
Water Flow and Pressure Considerations
To ensure optimal performance and satisfaction, it’s essential to consider the water flow and pressure for your new shower head.
- Discuss the ideal water pressure for the shower head:
Rainfall shower heads work best with adequate water pressure. The ideal pressure range for these shower heads is typically between 40 to 60 psi (pounds per square inch). If your home’s water pressure falls outside this range, you may need to consider a pressure-boosting system or adjusting the pressure at the source.
- Address any potential issues with water flow:
If you experience reduced water flow after installing your new shower head, there may be an issue with mineral deposits clogging the nozzles. Regular maintenance, including cleaning the nozzles, can help resolve this problem.
Final Checks
Before you wrap up the installation, it’s important to perform some final checks to ensure everything is in order.
- Turn on the water supply:
Slowly open the shut-off valve to restore the water supply to your bathroom. Be prepared for air and excess water to flow through the shower head initially.
- Check for leaks:
Watch for any leaks at the connection between the shower head and the shower arm. If you notice any leaks, gently tighten the connection with an adjustable wrench. Be careful not to overtighten.
- Adjust the angle and height of the shower head:
To optimize your shower experience, adjust the angle and height of the shower head to your preferred position. Many rainfall shower heads are adjustable, allowing you to customize the angle and height to your liking.
Conclusion
Installing a 10-inch square rainfall shower head with two modes in your bathroom can be a rewarding DIY project that enhances both the aesthetics and functionality of your shower. By following the steps outlined in this guide, you can enjoy the luxury of a rainfall shower head in no time. Remember to pay attention to the water pressure, test the modes, and perform regular maintenance to keep your shower head performing at its best.