Introduction
The shower is a sanctuary for relaxation and rejuvenation, but a dripping shower head can quickly turn this oasis into a source of frustration. Similarly, installing a new shower head can breathe new life into your bathroom and enhance your bathing experience. In this comprehensive guide, we will delve into the step-by-step process of fixing a dripping shower head and installing a new one, equipping you with the knowledge and skills to tackle these common plumbing tasks with confidence.

How to Fix a Dripping Shower Head:
A dripping shower head is not only annoying but also wasteful, leading to water and energy waste over time. Before diving into the repair process, it’s essential to identify the root cause of the drip, which could range from loose connections to worn-out washers or mineral deposits.
- Identify the cause of the drip
Loose connections: Check for loose fittings or connections between the shower head and the shower arm.
Worn-out washers or O-rings: Inspect the internal components of the shower head for signs of wear or deterioration.
Mineral deposits or clogs: Examine the shower head openings for mineral buildup or debris that may obstruct water flow.
- Gather necessary tools and materials
Adjustable wrench
Replacement washers or O-rings
White vinegar or lime remover (for cleaning mineral deposits)
- Step-by-step instructions for fixing the drip
Turn off water supply to the shower to prevent any leaks or spills.
Disassemble the shower head by removing the shower head from the shower arm using an adjustable wrench.
Inspect and clean the internal components of the shower head, paying close attention to the washers or O-rings.
Replace any worn-out or damaged parts with new washers or O-rings.
Reassemble the shower head and ensure all connections are tight and secure.
Turn on the water supply and test the shower head for leaks.
How to Install a Shower Head
Installing a new shower head is a relatively straightforward task that can dramatically improve your showering experience. Before starting the installation process, it’s essential to choose the right shower head for your needs and gather the necessary tools and materials.
- Choose the right shower head for your needs
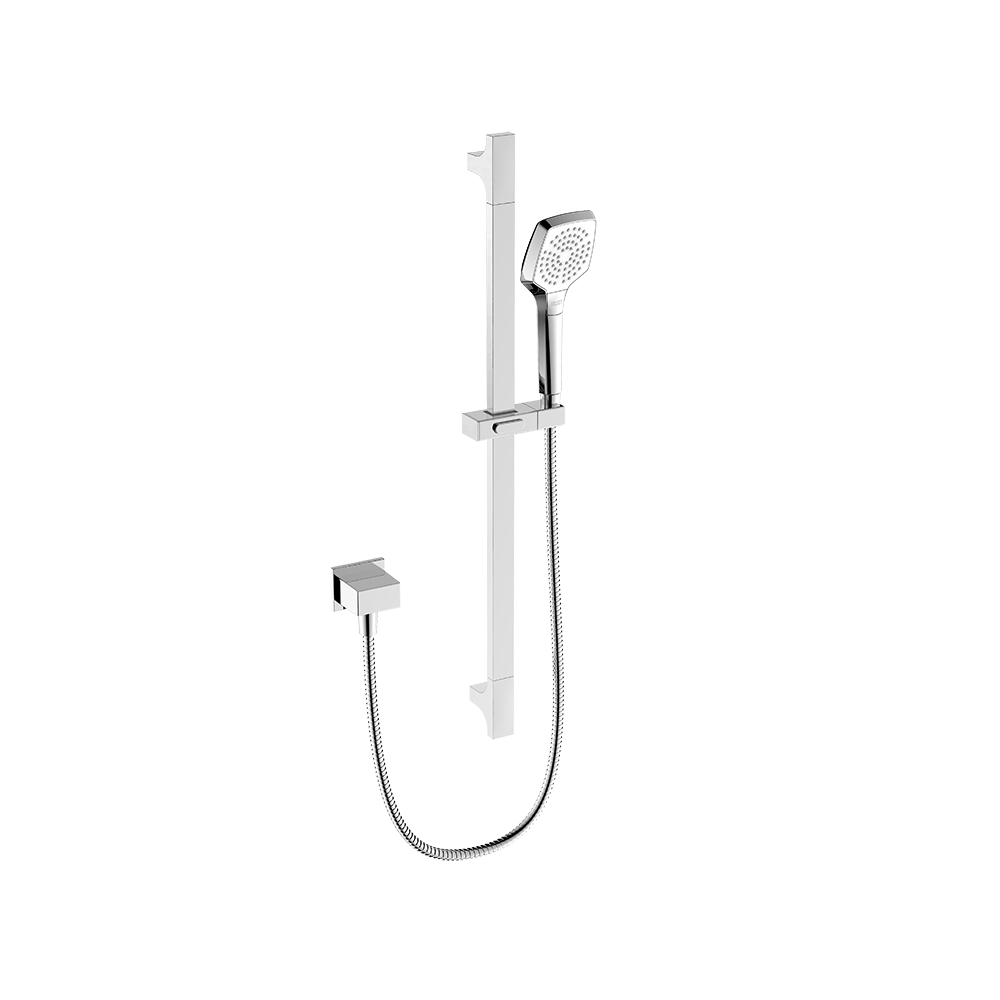
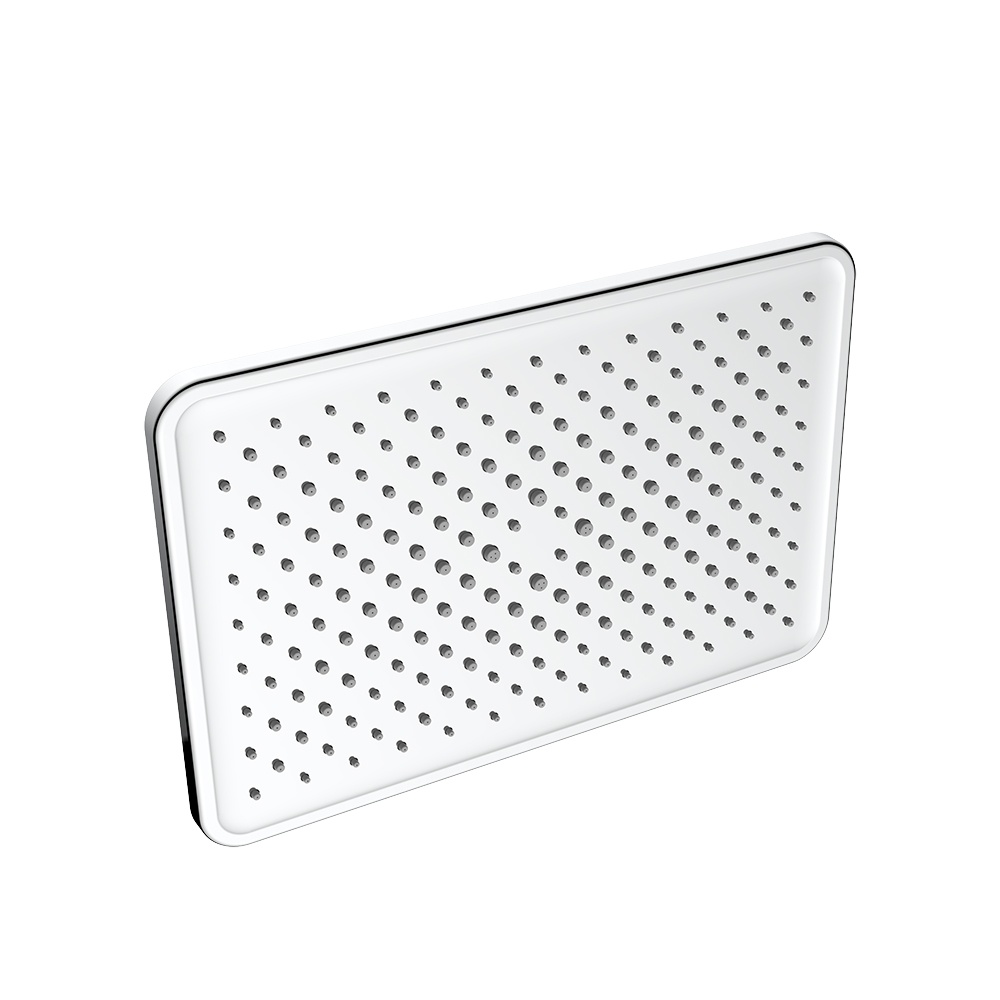
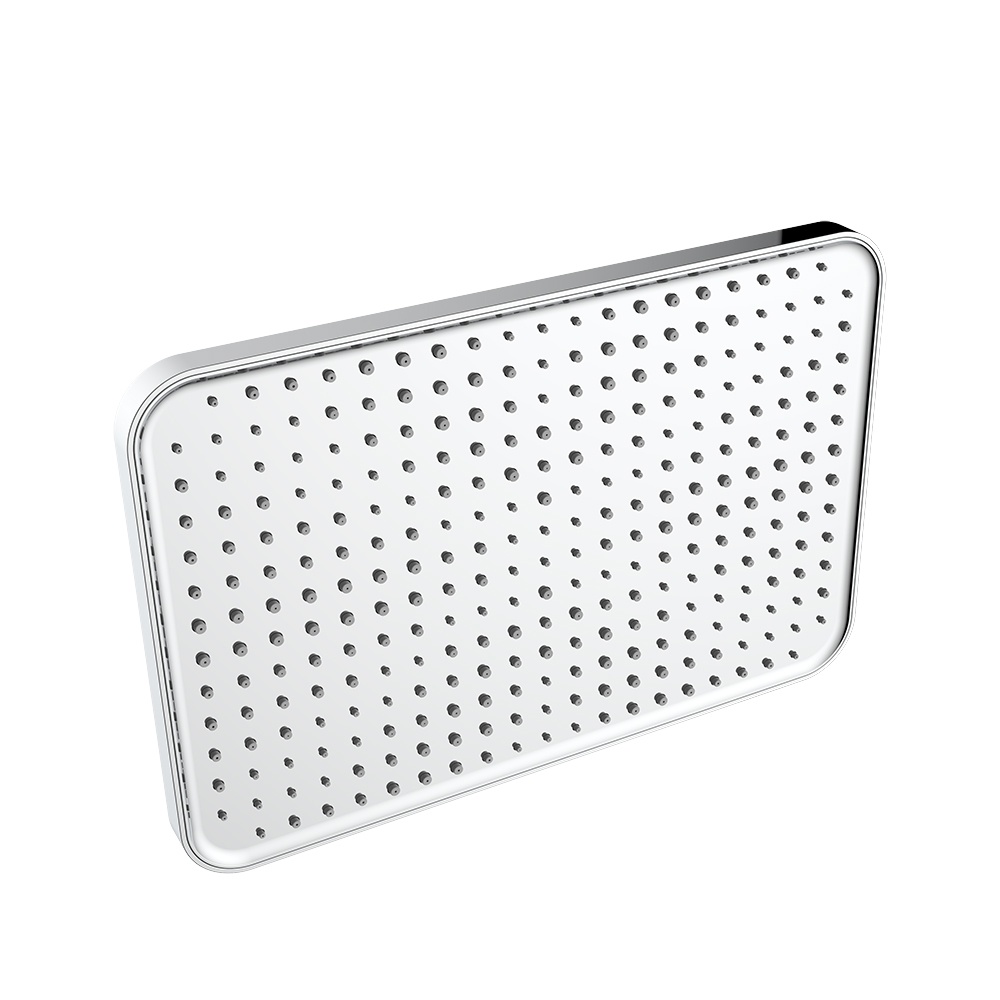
Consider the type of shower head (fixed, handheld, rain shower, etc.) that best suits your preferences and bathroom layout.
Take into account factors such as water pressure, flow rate, budget, and aesthetic preferences.
- Gather necessary tools and materials
Adjustable wrench or pliers
Thread seal tape (Teflon tape) to ensure a watertight seal
Step-by-step instructions for installation
Turn off the water supply to the shower to prevent any leaks or spills.
Remove the old shower head (if applicable) by twisting it counterclockwise using an adjustable wrench or pliers.
Clean and prepare the threads of the shower arm to ensure a smooth installation process.
Apply thread seal tape to the threads of the shower arm to create a watertight seal.
Attach the new shower head to the shower arm by twisting it clockwise until it is securely in place.
Hand-tighten the shower head, then use an adjustable wrench or pliers to tighten it further, being careful not to over-tighten.
Turn on the water supply and test the shower head for leaks, adjusting as needed.
Additional Tips and Troubleshooting
Even after repairing a dripping shower head or installing a new one, it’s essential to troubleshoot any issues that may arise and optimize the performance of your shower head.
Addressing persistent leaks or drips: If leaks persist after repair or installation, double-check the connections and ensure all components are properly tightened. Consider replacing any worn-out parts or seeking professional help if needed.
Dealing with low water pressure or uneven spray patterns: Clean the shower head openings thoroughly to remove any mineral deposits or debris that may be obstructing water flow. Consider upgrading to a high-pressure shower head or installing a water-saving device to improve water efficiency.
Conclusion
With the step-by-step guidance provided in this article, you can confidently tackle the task of fixing a dripping shower head and installing a new one, transforming your bathroom into a haven of comfort and relaxation. By understanding the underlying causes of common plumbing issues and following proper repair and installation techniques, you can ensure optimal performance and longevity of your shower head, enhancing your daily bathing experience for years to come.