Introduction
Installing a 6-settings handheld shower head set can transform your showering experience, providing versatility and customization options. However, understanding the installation process and having the necessary tools and knowledge are crucial for a successful installation. In this article, we will guide you through the step-by-step process of installing a 6-settings handheld shower head set, including the tools required and helpful tips for a seamless installation. By following these instructions, you can enjoy the benefits of a multi-functional shower head set in no time.

Pre-installation Preparation
Before you begin the installation process, it is important to gather the necessary tools and equipment. Some common tools you may need include an adjustable wrench, pliers, plumber’s tape, and a cloth or towel for cleaning. Additionally, you should turn off the water supply to the shower to prevent any water flow during the installation.
Assessment of Existing Shower Head
The first step is to assess the type of shower head currently installed in your bathroom. Understanding the existing setup will help determine the compatibility of the 6-settings handheld shower head set with your plumbing system. If you are uncertain, consult the manufacturer’s instructions or seek professional advice.
Removal of Existing Shower Head
- To install the 6-settings handheld shower head set, you will need to remove the existing shower head. Using the appropriate tools, such as an adjustable wrench or pliers, carefully loosen and unscrew the old shower head. Take note of any additional components, such as washers or O-rings, that may be present.
- Once the shower head is removed, clean the threads of the shower arm using a cloth or towel. This will remove any debris or residue that could interfere with the installation of the new shower head.
Installation of the Mounting Bracket
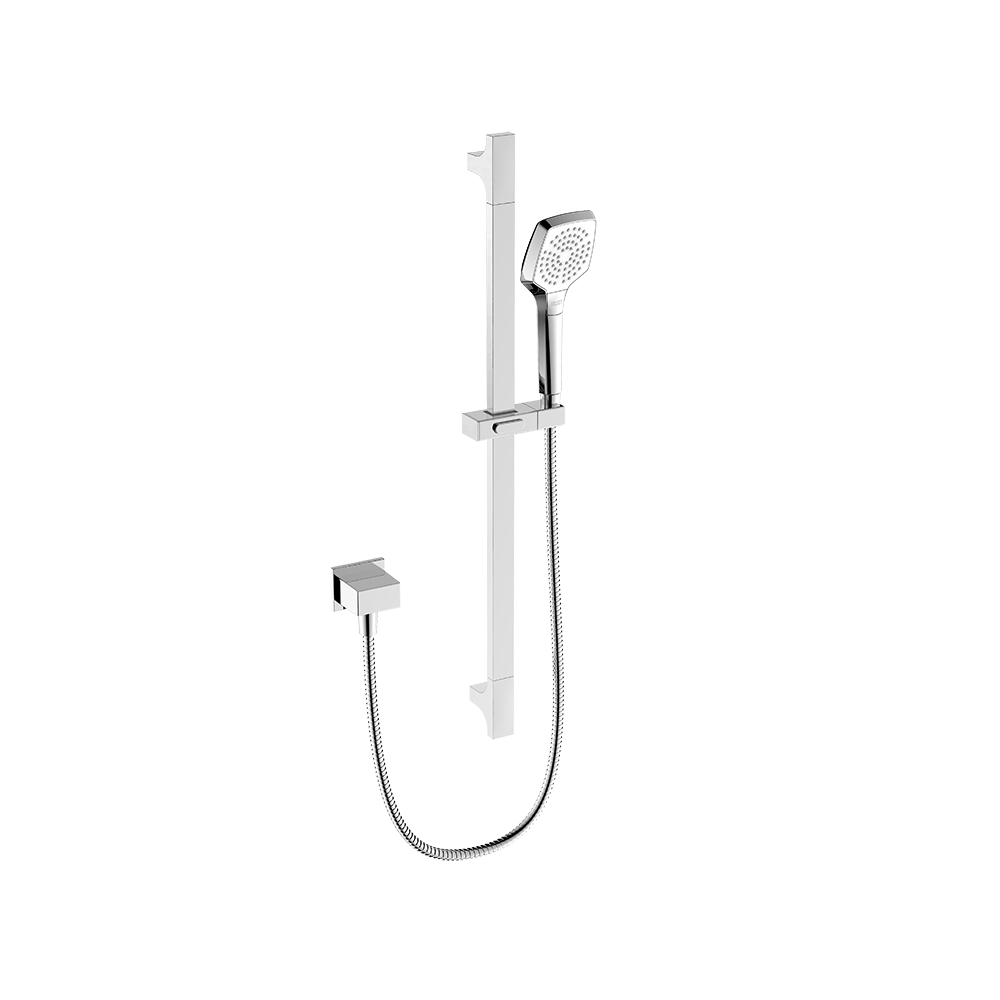
The mounting bracket is a crucial component that holds the 6-settings handheld shower head se in place. Determine the desired height and position for the handheld shower head, considering factors such as convenience and accessibility. Attach the mounting bracket to the shower arm using the provided hardware, ensuring a secure and stable installation. Follow the manufacturer’s instructions for proper placement and alignment.
Connection of the Shower Hose
- To connect the 6-settings handheld shower head set to the plumbing, you will need a shower hose. Apply plumber’s tape to the threaded end of the shower arm to create a watertight seal. This tape helps prevent leaks and ensures a smooth connection.
- Next, attach one end of the shower hose to the handheld shower head. Make sure it is securely fastened, but avoid overtightening to prevent damage to the threads. Connect the other end of the shower hose to the mounting bracket or shower arm, again ensuring a secure connection.
Installation of the 6-settings handheld shower head set
With the mounting bracket in place and the shower hose connected, you can now install the handheld shower head. Place the handheld shower head onto the mounting bracket or slide it into the bracket holder, depending on the design of your shower head set. Ensure a secure fit, and adjust the angle of the shower head as desired for optimal positioning.
Testing and Final Adjustments
- Before completing the installation, it is important to test the newly installed 6-settings handheld shower head set. Turn on the water supply and check for any leaks around the connections. If you notice any leaks, tighten the connections slightly using pliers or an adjustable wrench. Be careful not to overtighten, as it may damage the threads.
- Test the different settings and functions of the 6-settings handheld shower head. Adjust the position or angle of the shower head to find the most comfortable and effective settings for your preferences. This step ensures that the shower head is functioning properly and provides the desired water flow and spray patterns.
Additional Components and Accessories
- Some handheld shower head sets may come with additional components or accessories that can enhance the installation or functionality. These may include adjustable slide bars, mounting brackets with adjustable angles, or water-saving features. Refer to the manufacturer’s instructions or product documentation to explore any additional options available.
- It is also worth noting that some manufacturers provide installation instructions or videos that offer detailed guidance on the installation process. These resources can be valuable references and may provide specific tips or troubleshooting advice for your particular shower head set.
Conclusion
Installing a 6-settings handheld shower head set can be a rewarding project that enhances your showering experience. By following the steps outlined in this article and having the necessary tools and knowledge, you can successfully install the shower head set and enjoy the benefits of adjustable spray patterns and functionality.
Remember to gather the appropriate tools, assess the existing shower head, and carefully remove it before proceeding. Install the mounting bracket securely, connect the shower hose, and attach the handheld shower head. Test the system for leaks and functionality, making any necessary adjustments along the way.
By following these installation instructions, you can confidently install a 6-settings handheld shower head set and transform your daily shower routine into a customized and refreshing experience.
Related Products