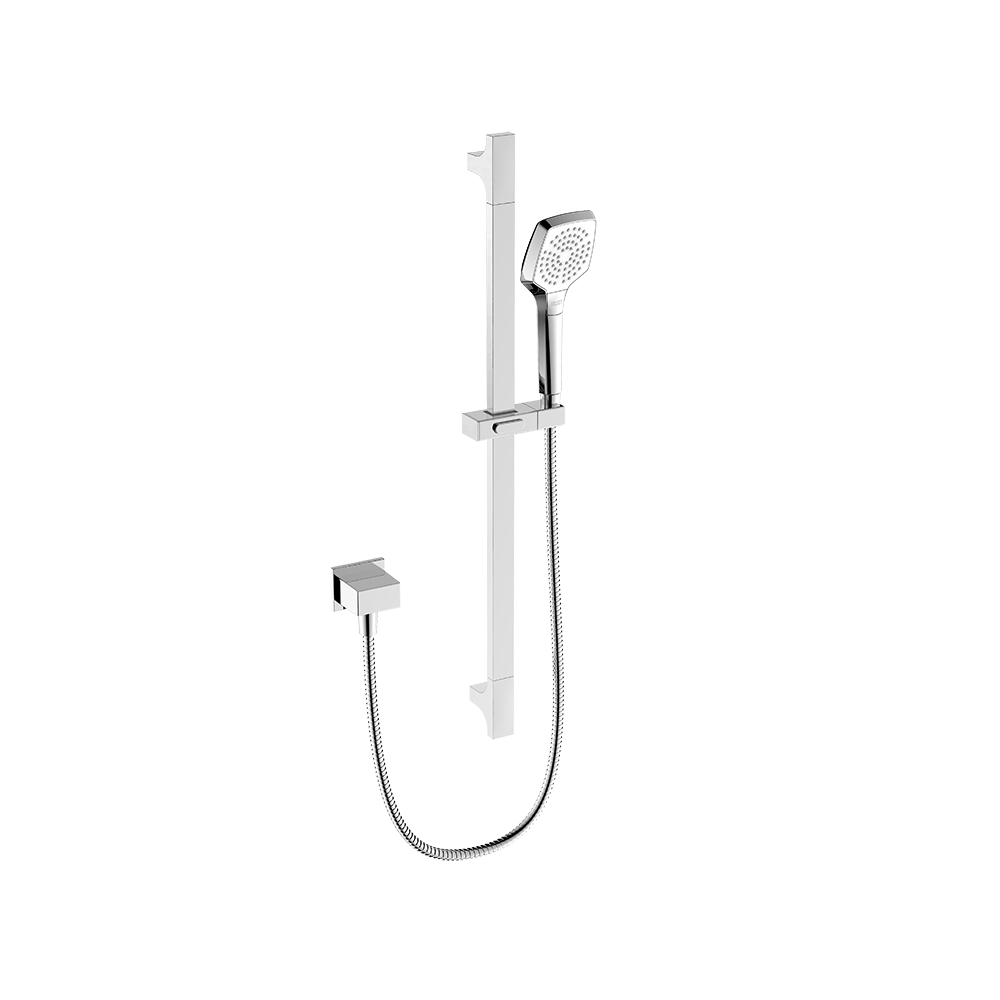
Introduction
Installing a single-handle kitchen faucet with a sprayer can upgrade your kitchen’s functionality and aesthetics. This comprehensive guide will walk you through the installation process, ensuring a successful setup and proper functionality of your new faucet. Proper installation is crucial for avoiding leaks, ensuring optimal performance, and extending the faucet’s lifespan.

Preparation
Before beginning the installation process, gather the necessary tools and materials, including an adjustable wrench, basin wrench, plumber’s tape, and the new faucet kit. Ensure to shut off the water supply to the kitchen at the main shut-off valve. Remove the old faucet (if applicable) and thoroughly clean the installation area on the sink, removing any debris or old sealant.
Assembling the New Faucet
Organizing Parts and Components: Lay out all the components of the new faucet kit and organize them according to the manufacturer’s instructions. This step ensures that all parts are accounted for and ready for installation.
Attaching the Sprayer Hose: If the faucet includes a sprayer, attach the sprayer hose to the faucet body following the manufacturer’s guidelines. Ensure proper alignment and secure attachment to prevent leaks later.
Mounting the Faucet Base on the Sink: Place the faucet base on the sink’s mounting holes, aligning it correctly. Ensure a snug fit before proceeding to the installation.
Installing the Faucet
Attaching Water Supply Lines: Connect the hot and cold water supply lines to the corresponding valves under the sink. Use plumber’s tape on the threads to create a secure seal and prevent leaks.
Securing the Faucet in Place: Secure the faucet by tightening the mounting nuts or screws underneath the sink. Use a basin wrench to reach tight spaces if needed. Ensure the faucet is level and firmly attached to the sink.
Tightening Connections and Sealing: Double-check all connections, including the water supply lines and the faucet base. Tighten any loose connections and apply silicone sealant or plumber’s putty around the base to prevent water from seeping underneath.
Connecting the Sprayer
Attaching the Sprayer Hose to the Faucet: Connect the other end of the sprayer hose to the designated outlet on the faucet body. Ensure a secure and snug connection to prevent leaks.
Connecting the Other End to the Sprayer Outlet: Attach the sprayer head to the hose and secure it in place. Test the sprayer by pulling it out and checking for proper functionality.
Testing and Checking for Leaks
Turning On Water Supply: Slowly turn on the water supply at the main shut-off valve and check for any leaks around the connections and base of the faucet. Address any leaks by tightening connections if necessary.
Testing Faucet Handle and Sprayer: Test the faucet handle for smooth operation, ensuring it moves easily between hot and cold settings. Verify the sprayer’s functionality by using it and checking for proper water flow and retraction.
Inspecting for Leaks and Addressing Issues: Conduct a thorough inspection under the sink and around the faucet for any signs of leaks. Address any issues promptly to prevent water damage and ensure the faucet’s proper functioning.
Final Adjustments and Cleanup
Making Necessary Adjustments for Proper Functionality: Make any final adjustments to the faucet handle, sprayer, or connections to ensure optimal functionality. Check for any remaining leaks and tighten connections if needed.
Securing Loose Connections: Use a wrench to secure any loose connections that might have become apparent during the testing phase. This step ensures a watertight seal and prevents future leaks.
Cleaning the Installed Faucet and Surrounding Area: Wipe down the faucet, sink, and surrounding area to remove any residue, fingerprints, or debris. This step adds a finishing touch to the installation process.
Conclusion
Installing a single-handle kitchen faucet with a sprayer might seem daunting, but following these step-by-step instructions can make the process smoother and more manageable. Proper installation ensures reliable performance and prevents common issues like leaks or malfunctioning components. Remember to adhere to manufacturer guidelines and take your time during the installation process to achieve the best results.