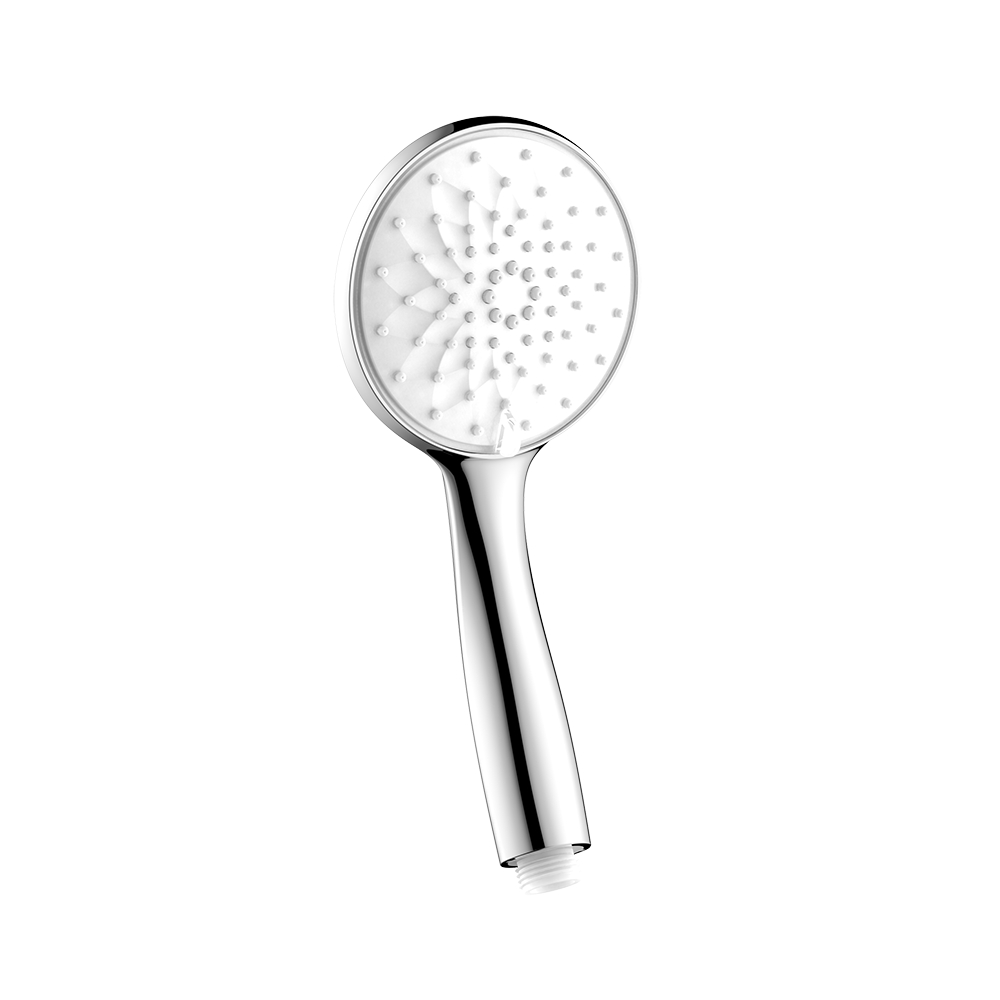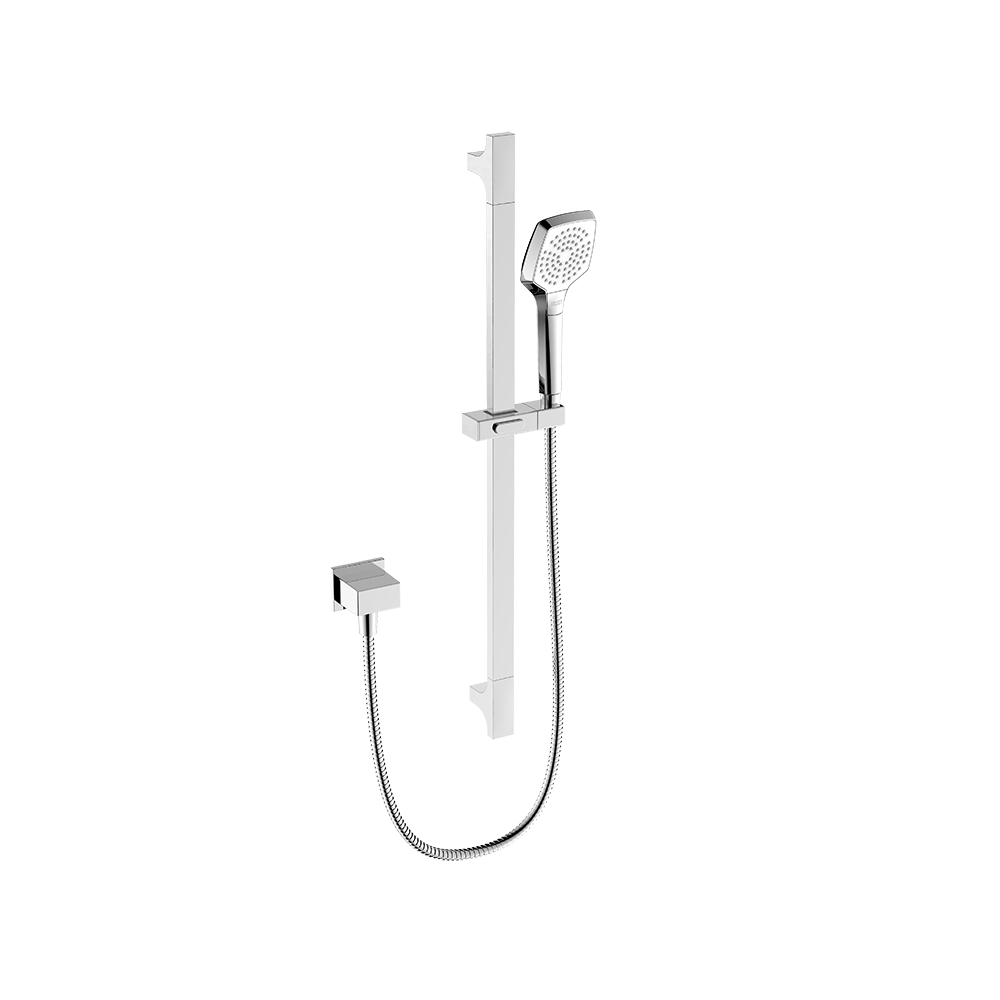
Installing an ABS hand shower set in your bathroom can be a great way to upgrade your showering experience. An ABS hand shower set provides more flexibility and control than a fixed showerhead, and it can make it easier to clean yourself, your pets, or your shower. However, if you have never installed an ABS shower set before, the process can seem intimidating. In this article, we will provide a step-by-step guide on how to install an ABS hand shower set in your bathroom.
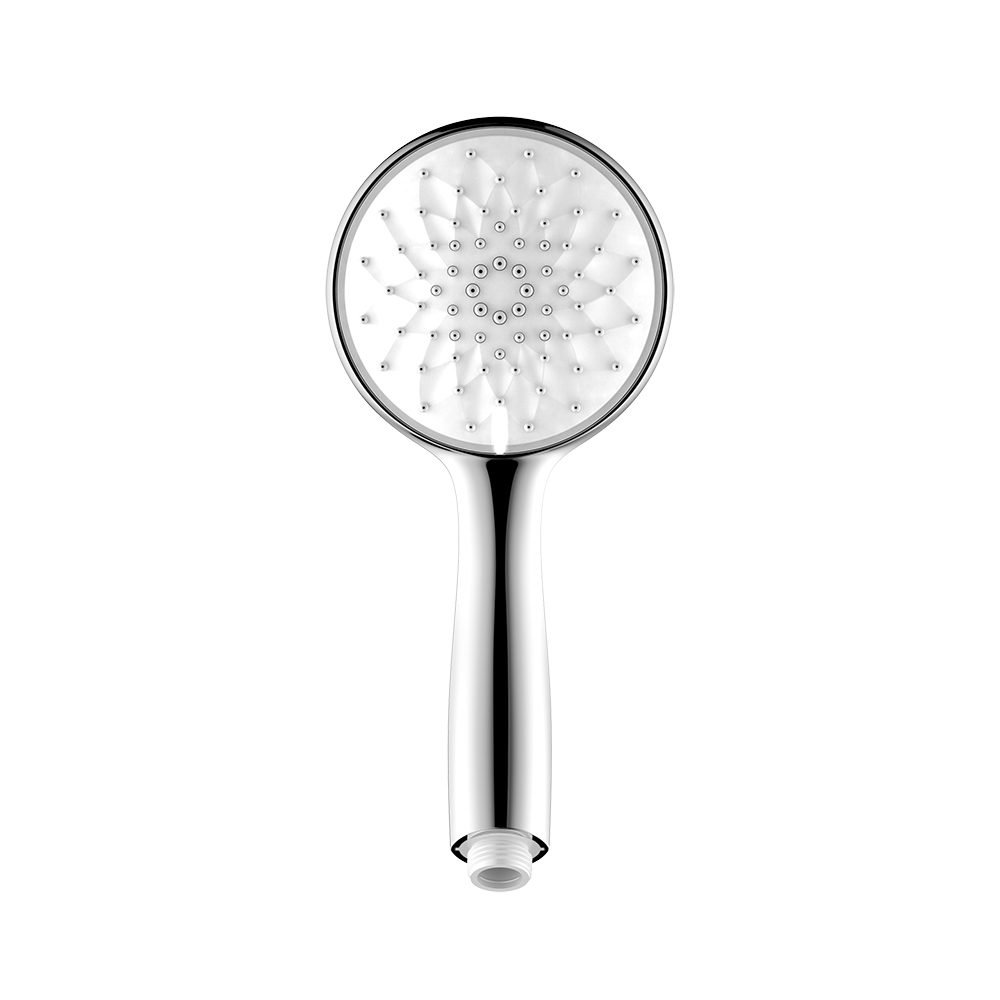
Gather the Necessary Tools and Materials
Before you start the install an ABS Hand Shower Set , you will need to gather the necessary tools and materials. Here is a list of what you will need:
- ABS hand shower set
- Shower arm
- Flange
- Mounting bracket
- Adjustable wrench
- Pliers
- Teflon tape
- Towel or rag
You can purchase an ABS hand shower set online or in a home improvement store. Make sure to choose a set that is compatible with your existing plumbing and showerhead. You may also want to choose a set that comes with a mounting bracket, which can make the installation process easier.
Turn Off Water Supply
Before you start to install an ABS Hand Shower Set, you will need to turn off the water supply to your shower. This is an important step to prevent any water damage or flooding during the installation process. Here are the steps to turn off the water supply:
- Locate the main water shut-off valve for your house.
- Turn the valve to the off position.
- Turn on a nearby faucet to drain any remaining water from the pipes.
Removing the Existing Showerhead
The next step is to remove the existing showerhead. Here’s how:
- Wrap a towel or rag around the shower arm to protect it from scratches.
- Use an adjustable wrench or pliers to loosen the showerhead from the shower arm.
- Twist the showerhead counterclockwise until it comes off the shower arm.
If the showerhead is stuck, you can try using a lubricant or a wrench with a longer handle to loosen it. Be careful not to damage the shower arm or the plumbing.
Install the Shower Arm and Flange
The shower arm and flange are the parts that connect the showerhead to the plumbing. Here’s how to install them:
- Apply Teflon tape to the threads of the shower arm to prevent leaks.
- Screw the shower arm onto the plumbing by hand, and then use an adjustable wrench to tighten it.
- Attach the flange to the shower arm by screwing it on by hand.
It’s important to make sure the shower arm and flange are tight, but not over-tightened. Over-tightening can damage the plumbing.
Install the Mounting Bracket
If your ABS hand shower set comes with a mounting bracket, you will need to install it next. Here’s how:
- Position the mounting bracket on the shower wall where you want it to be installed.
- Use a pencil to mark the location of the screw holes on the wall.
- Use a drill and a drill bit that is slightly smaller than the screws to make pilot holes in the marked locations.
- Insert the screws into the pilot holes and screw them into the wall using a screwdriver or drill.
- Make sure the mounting bracket is straight and level before you attach it to the wall.
Attach the Hose and Hand Shower
The next step is to attach the hose and hand shower to the mounting bracket. Here’s how:
- Insert one end of the hose into the hand shower and tighten it by hand.
- Apply Teflon tape to the threads of the other end of the hose to prevent leaks.
- Screw the hose onto the mounting bracket by hand, and then use an adjustable wrench to tighten it.
Make sure the hose and hand shower are securely attached to the mounting bracket before you turn on the water supply.
Turn On the Water Supply and Test the Hand Shower
The final step is to turn on the water supply and test the hand shower for leaks and proper operation. Here’s how:
- Turn on the main water shut-off valve for your house.
- Turn on the shower faucet to let the water flow through the pipes.
- Check the hose and hand shower for any leaks.
- Test the hand shower by turning it on and off and adjusting the spray pattern.
If you notice any leaks, try tightening the connections or adding more Teflon tape to the threads. If the hand shower is not working properly, check the connections and make sure the water pressure is adequate. If you encounter any difficulties during the installation process, you may want to consult a professional plumber.
Conclusion
Installing an ABS hand shower set in your bathroom can be a relatively simple and affordable way to upgrade your showering experience. By following the steps outlined in this article, you can install a ABS hand shower set with confidence and enjoy the benefits of a more flexible and convenient shower. Remember to gather the necessary tools and materials, turn off the water supply, remove the existing showerhead, install the shower arm and flange, attach the mounting bracket, attach the hose and hand shower, and finally, turn on the water supply and test the hand shower. With a little bit of planning and patience, you can transform your bathroom into a more luxurious and functional space.
Related Products