Introduction
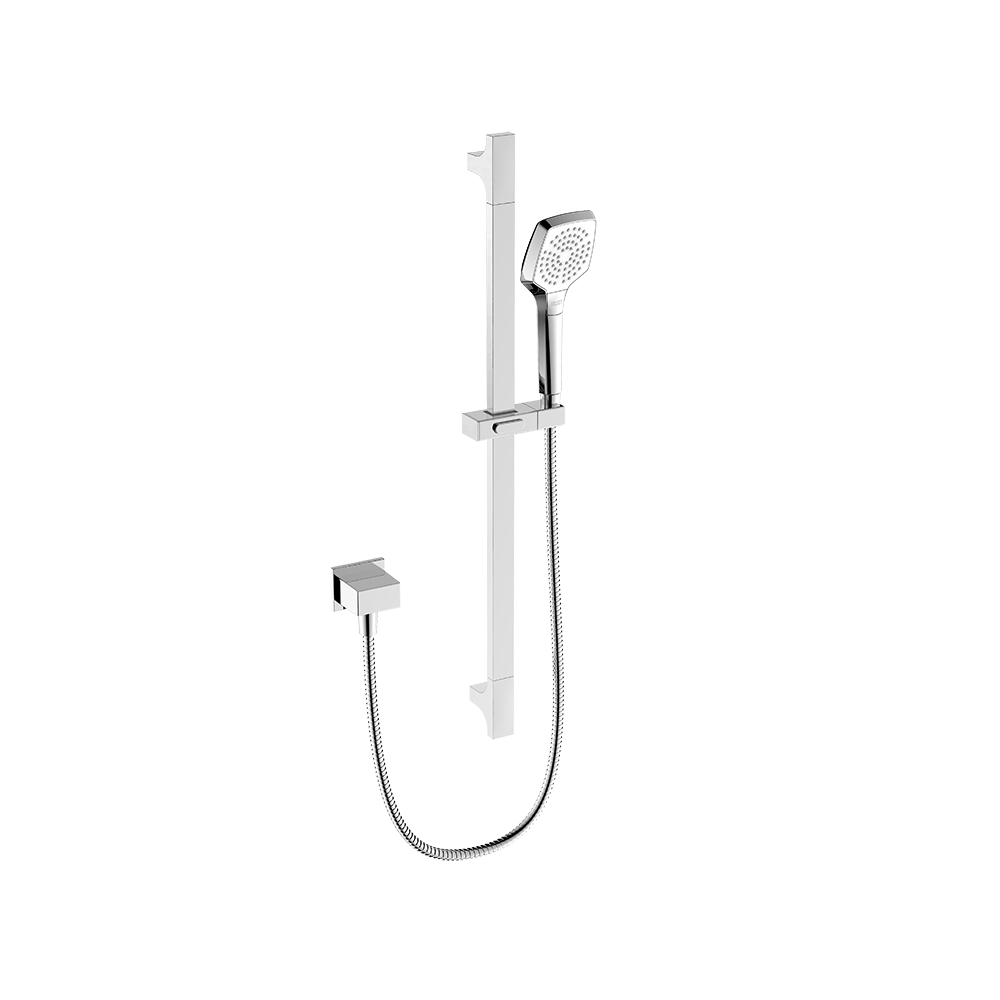
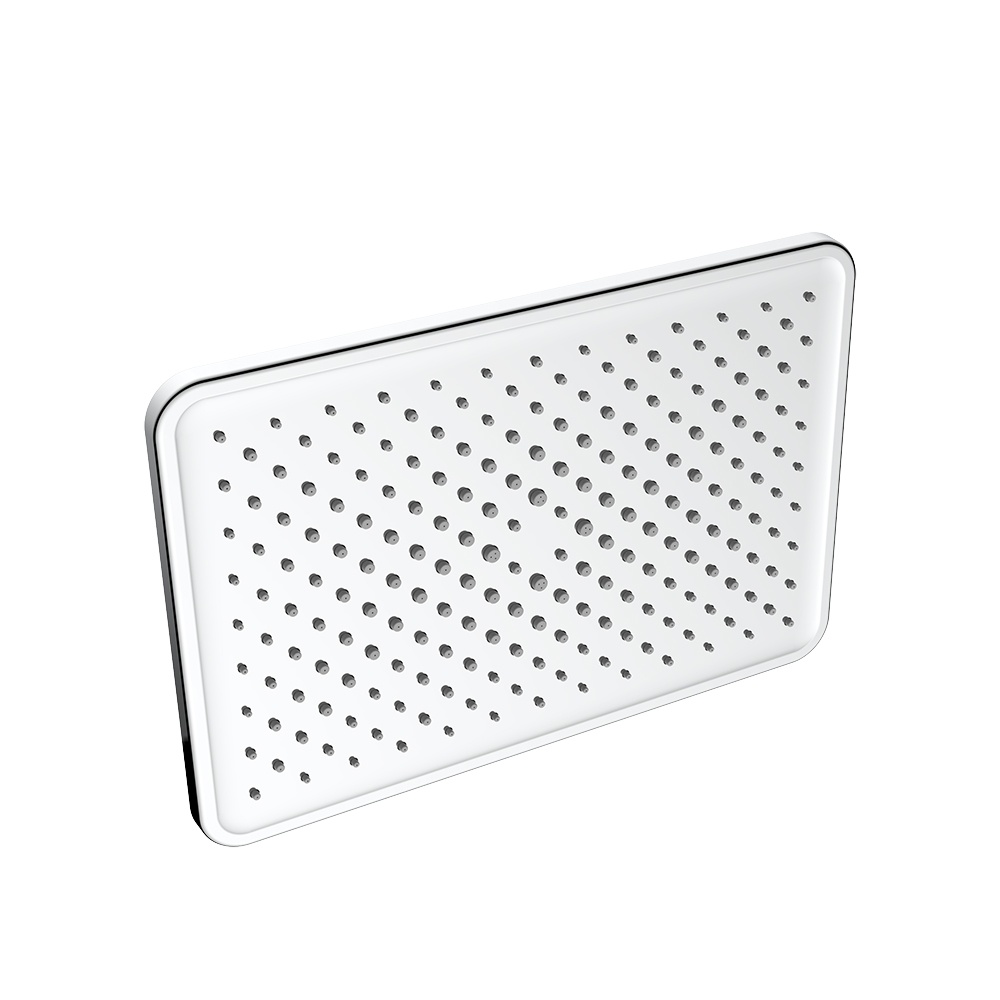
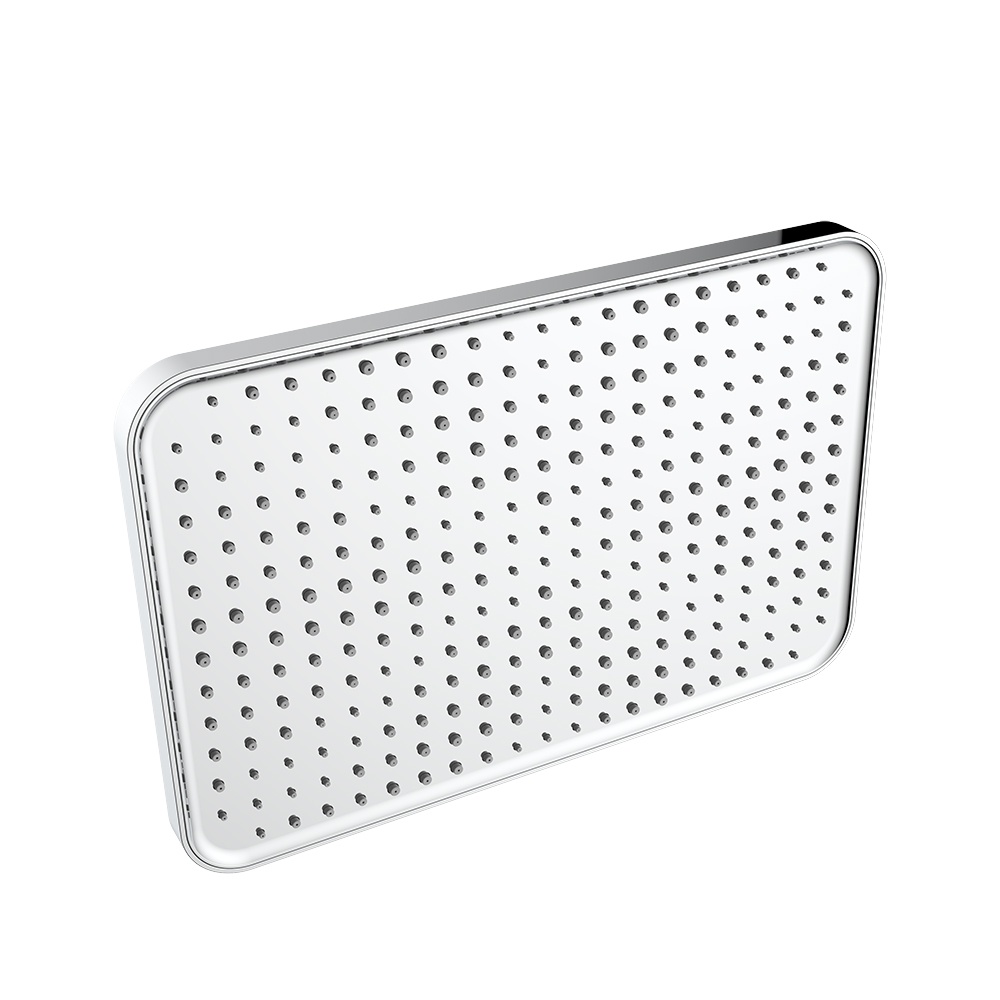
A shower head arm, also known as a shower pipe or shower riser, is the vertical pipe that connects the shower head to the water supply valve. Over time, this component can become damaged, corroded, or simply outdated in style. Replacing a shower head arm is a straightforward DIY project that can refresh your bathroom and improve your shower experience.

Gather Necessary Tools and Materials
Before you begin, gather all the tools and materials you will need for the job. Here’s a list of essentials:
Adjustable wrench or channel-lock pliers
Pipe wrench
Screwdriver (usually a Phillips head)
Plumber’s tape
Teflon tape or thread sealant
A new shower head arm (choose one that complements your bathroom decor and has good reviews)
Preparation
- Turning off the Water Supply
The first step is to turn off the water supply to the shower. This is typically done by turning a valve located near the shower or in the main water shutoff area of your home.
- Draining the Remaining Water
Once the water supply is off, open the shower faucet to allow any remaining water to drain out.
- Safety Precautions
Ensure you have a non-slip mat or towel to kneel on if you’re working in a wet area. Also, have a bucket or towel handy to catch any drips.
Removing the Old Shower Head Arm
- Locating and Loosening the Set Screw or Retaining Nut
The shower head arm is usually attached to the wall arm flange with a set screw or a retaining nut. Locate this fastener and use the appropriate tool to loosen it.
- Carefully Removing the Old Shower Head Arm
With the set screw or nut loosened, gently remove the shower head arm. Be cautious not to damage the wall or surrounding fixtures.
- Tips for Dealing with a Stuck or Rusted Shower Head Arm
If the arm is stuck or rusted, avoid using excessive force as it may damage the wall or the arm itself. Instead, apply a penetrating oil and let it sit for a while before attempting to loosen the fastener again.
Inspecting the Shower Arm Pipe
- Checking for Damage or Corrosion
With the old arm removed, inspect the shower arm pipe for any signs of damage or corrosion. If it’s severely corroded, it may need to be replaced.
- Cleaning the Threads and Pipe
If the threads are dirty or the pipe has some mineral buildup, clean it using a cloth and a mild cleaning solution.
- Replacing the Pipe If It’s Damaged
If you find that the pipe is damaged, you’ll need to replace it. This is a more involved process and may require the help of a professional plumber.
Installing the New Shower Head Arm
Applying Plumber’s Tape
To ensure a leak-free connection, wrap the threads of the new shower head arm with plumber’s tape. This creates a seal and protects the threads from damage.
Attaching the New Shower Head Arm to the Pipe
Thread the new shower head arm onto the pipe by hand. Once it’s started, use an adjustable wrench or channel-lock pliers to tighten it. Be careful not to overtighten, as this can damage the threads.
Aligning the New Arm in the Desired Position
After the arm is securely attached, adjust it to the desired position. Make sure it’s level and stable.
Reconnecting the Water Supply and Testing
Turning the Water Supply Back On
Slowly turn the water supply back on and check for any leaks at the connection point.
- Checking for Leaks
If you notice any dripping, turn off the water supply and tighten the connection slightly more. Be careful not to overtighten.
- Testing the Shower Head
Once you’re confident there are no leaks, turn the water supply back on and test the shower head. Check for proper water flow and pressure.
Finishing Touches
- Adjusting the Height or Angle of the Shower Head
If your new shower head arm is adjustable, make any necessary adjustments to the height or angle of the shower head.
- Reinstalling Any Wall Fixtures or Decorative Elements
If you removed any fixtures or decorative elements to access the shower head arm, reinstall them now.
- Cleaning Up the Work Area
Clean up any mess created during the installation process. Dispose of the old shower head arm and any other waste materials properly.
Troubleshooting Common Issues
- Addressing Leaks After Installation
If you’re still experiencing leaks after installation, double-check the connection and ensure the plumber’s tape is properly wrapped.
- Dealing with an Improperly Aligned Shower Head
If the shower head isn’t aligned correctly, you may need to slightly loosen the connection and reposition the arm before tightening again.
- Solving Issues with Water Flow or Pressure
If the water flow or pressure seems off, check the shower head itself for any blockages. Sometimes, simply cleaning the shower head can resolve these issues.
Maintenance and Care of the New Shower Head Arm
- Regular Cleaning and Inspection
To prolong the life of your new shower head arm, clean it regularly and inspect it for any signs of wear or damage.
- Tips for Prolonging the Life of the Shower Head Arm
Avoid using harsh chemicals or abrasive cleaners on the shower head arm, as these can damage the finish. Instead, use a mild cleaning solution and a soft cloth.
- When to Call a Professional for Help
If you encounter any issues that you’re unable to resolve on your own, or if you’re uncomfortable performing the replacement yourself, don’t hesitate to call a professional plumber.
Conclusion
Replacing a shower head arm is a relatively simple DIY project that can greatly enhance your shower experience. By following the steps outlined in this guide, you can successfully replace your shower head arm and enjoy a refreshed bathroom space. Remember, regular maintenance and care are key to keeping your new shower head arm in top condition.