Introduction
A crucial component of any shower system, the shower arm plays a significant role in directing water flow and supporting the showerhead. Understanding what a shower arm is and how to install it properly ensures an efficient and functional shower experience. In this comprehensive guide, we’ll explore the intricacies of shower arms, from their basic definition to step-by-step installation instructions, maintenance tips, and troubleshooting techniques.

Understanding Shower Arms
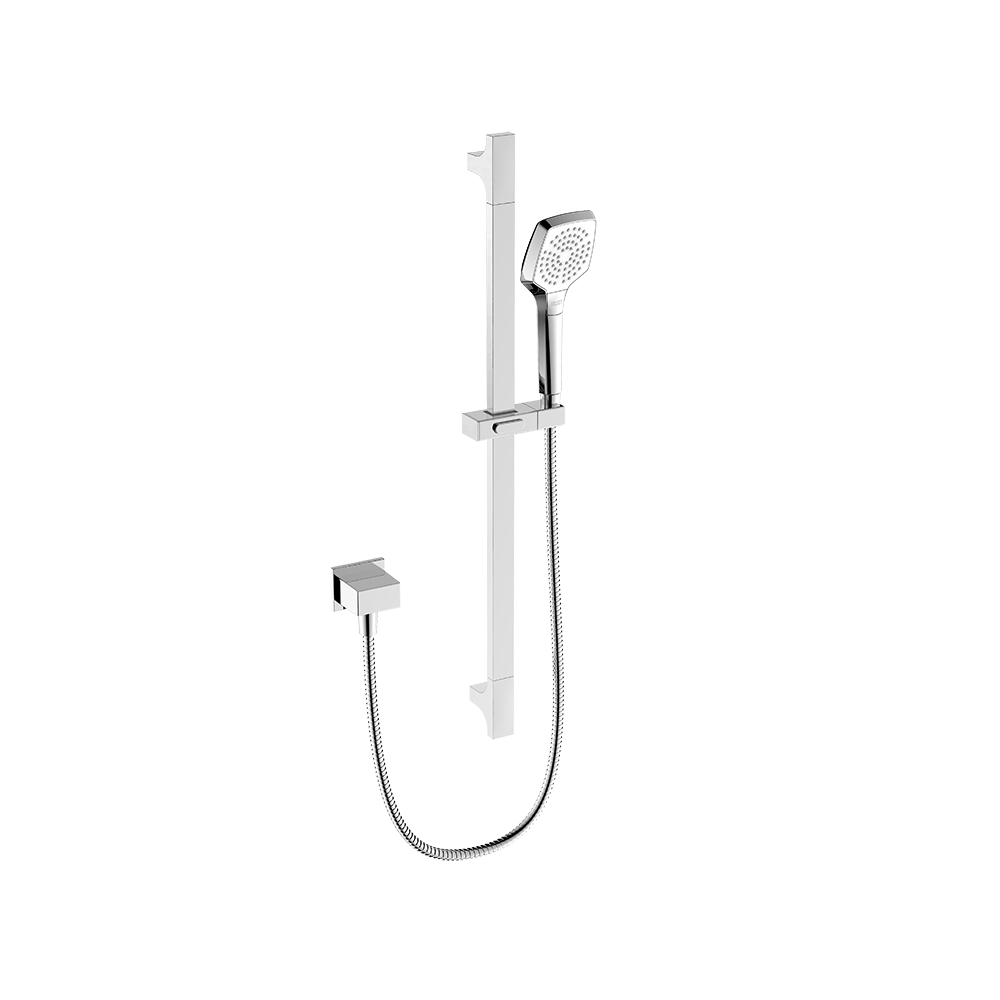
Shower arms are essential pieces of plumbing hardware that connect the water supply pipe to the showerhead. They come in various shapes, sizes, and materials to accommodate different shower configurations and design preferences. Common types include straight, curved, adjustable, and ceiling-mounted shower arms. Shower arms are typically constructed from durable materials like stainless steel, brass, or chrome-plated brass to withstand water exposure and maintain structural integrity over time.
Components of a Shower Arm
A typical shower arm consists of several key components, including the main body, connection threads, and showerhead attachment point. The main body of the shower arm extends from the water supply pipe to the showerhead, providing a stable support structure. Connection threads allow the shower arm to screw securely onto the water supply pipe, ensuring a tight seal and preventing leaks. The showerhead attachment point is located at the end of the shower arm and is designed to hold the showerhead in place.
Tools and Materials Needed for Installation
Before installing a shower arm, gather the necessary tools and materials, including an adjustable wrench, pipe wrench, Teflon tape, plumber’s tape, silicone caulk, and the shower arm itself. These items are essential for a successful installation and ensure that the shower arm is securely attached to the water supply pipe with minimal risk of leaks or damage.
Preparation Before Installation
Prior to installing the shower arm, it’s important to prepare the shower area and shut off the water supply to prevent accidents and minimize water damage. If replacing an existing shower arm, remove it carefully to avoid damaging surrounding fixtures or tiles. Thoroughly clean the area where the new shower arm will be installed to ensure a smooth and secure connection.
Steps to Install a Shower Arm
Follow these step-by-step instructions to install a shower arm correctly:
Apply plumber’s tape to the shower arm threads to create a tight seal and prevent leaks.
Attach the shower arm to the water supply pipe by screwing it into place using a pipe wrench or adjustable wrench.
Ensure that the connection is tight and secure to prevent leaks.
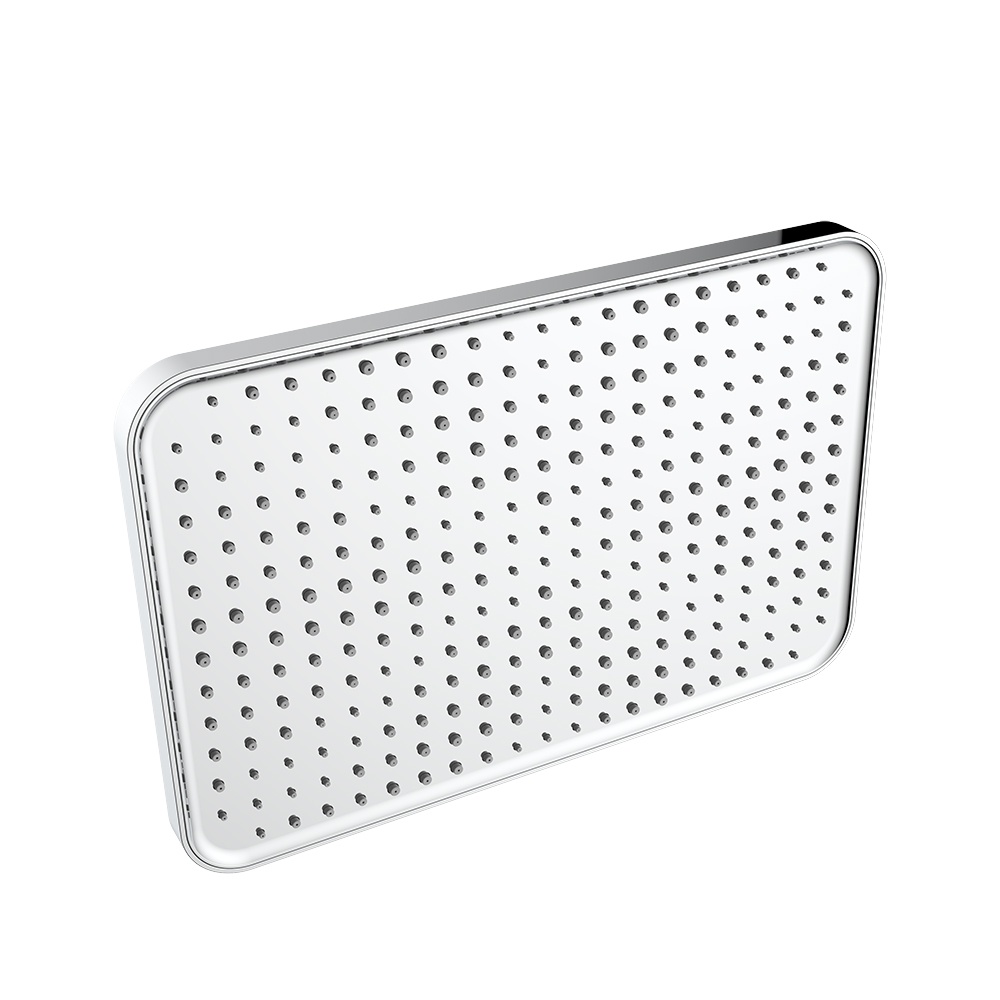
Install the showerhead onto the shower arm by screwing it onto the showerhead attachment point.
Test the shower arm and showerhead for leaks by turning on the water supply and checking for any signs of water seepage.
Adjust the angle of the showerhead as needed to ensure optimal water flow and coverage.
Testing and Finishing Touches
After installing the shower arm and showerhead, it’s important to test the system for leaks and make any necessary adjustments. Turn on the water supply and check for any signs of water leakage around the connection points. If leaks are detected, tighten the connections or apply additional plumber’s tape as needed. Once the system is leak-free, seal around the connection point with silicone caulk to prevent water from seeping into the wall or ceiling.
Troubleshooting Common Issues
Despite careful installation, issues may arise with the shower arm or showerhead over time. Common problems include leaks at the connection point, improper alignment or angle of the showerhead, and worn-out parts. If leaks occur, check the connection points and tighten any loose fittings. If the showerhead is misaligned, adjust the angle or replace the shower arm with a longer or shorter one to achieve the desired position. If necessary, consult a professional plumber for assistance with troubleshooting and repairs.
Maintenance Tips for Shower Arms
To ensure the longevity and performance of your shower arm, follow these maintenance tips:
Regularly clean the shower arm and showerhead to remove buildup and prevent corrosion.
Check for leaks and loose connections periodically and address any issues promptly.
Replace worn-out parts, such as plumber’s tape or silicone caulk, as needed to maintain a tight seal and prevent leaks.
Avoid using abrasive cleaners or harsh chemicals that can damage the finish of the shower arm.
Conclusion
In conclusion, understanding the importance of a properly installed shower arm is essential for maintaining an efficient and functional shower system. By following the step-by-step installation instructions, conducting regular maintenance, and addressing any issues promptly, you can ensure the longevity and performance of your shower arm for years to come. Whether you’re a DIY enthusiast or prefer to leave installation to the professionals, knowing how to install and maintain a shower arm is key to enjoying a comfortable and convenient shower experience.
Additional Resources
For further information on shower arm installation, maintenance, and troubleshooting, consider the following resources:
Instructional videos or guides for visual learners
Contact information for professional plumbers for those uncomfortable with DIY installation
Recommended shower arm products for various needs and preferences
By utilizing these additional resources, you can enhance your knowledge and skills in shower arm installation and maintenance, ensuring a seamless and enjoyable shower experience.